So, you’ve found yourself in need of a little DIY plumbing magic, but you’re not sure which way to wrap that mysterious plumbers tape. Don’t worry, my friend, because we’ve got you covered. In this article, we’ll explore the ins and outs of wrapping plumbers tape and guide you through the process step by step. Whether you’re a seasoned DIY enthusiast or a complete novice, we’ll make sure you have all the knowledge and confidence you need to tackle this handy task with ease. So, grab your tape and let’s get wrapping!
Which Way To Wrap Plumbers Tape?
Plumbers tape, also known as thread seal tape or PTFE tape, is an essential tool for any DIY plumbing project. It is used to create a tight seal between threaded pipe joints, preventing leaks and ensuring a secure connection. But have you ever wondered which way to wrap plumbers tape? In this comprehensive guide, we will walk you through the process of choosing the right direction, preparing the pipe surface, starting the wrapping process, securing the tape, and dealing with Teflon tape. We will also provide you with tips and best practices, discuss different uses for plumbers tape, troubleshoot common issues, and leave you with some final thoughts. So let’s dive in!
Choosing the Right Direction
Before we delve into the wrapping technique, it’s crucial to understand the importance of choosing the right direction for wrapping plumbers tape. In general, plumbers tape should be wrapped in the same direction that the fitting will be turned. This means that if you are connecting two pipes by turning the fitting clockwise, you should wrap the tape in a clockwise direction as well. By doing so, you ensure that the tape tightens as the fitting is tightened, creating a secure and leak-free joint.
Preparing the Pipe Surface
To maximize the effectiveness of plumbers tape, it’s essential to prepare the pipe surface before applying it. Start by cleaning the threads of the pipe with a wire brush or sandpaper to remove any dirt, debris, or old tape residue. This will ensure a clean and smooth surface for the tape to adhere to. Additionally, it’s recommended to use a degreaser or solvent to eliminate any grease, oil, or other contaminants that may compromise the tape’s ability to create a tight seal.
Starting the Wrapping Process
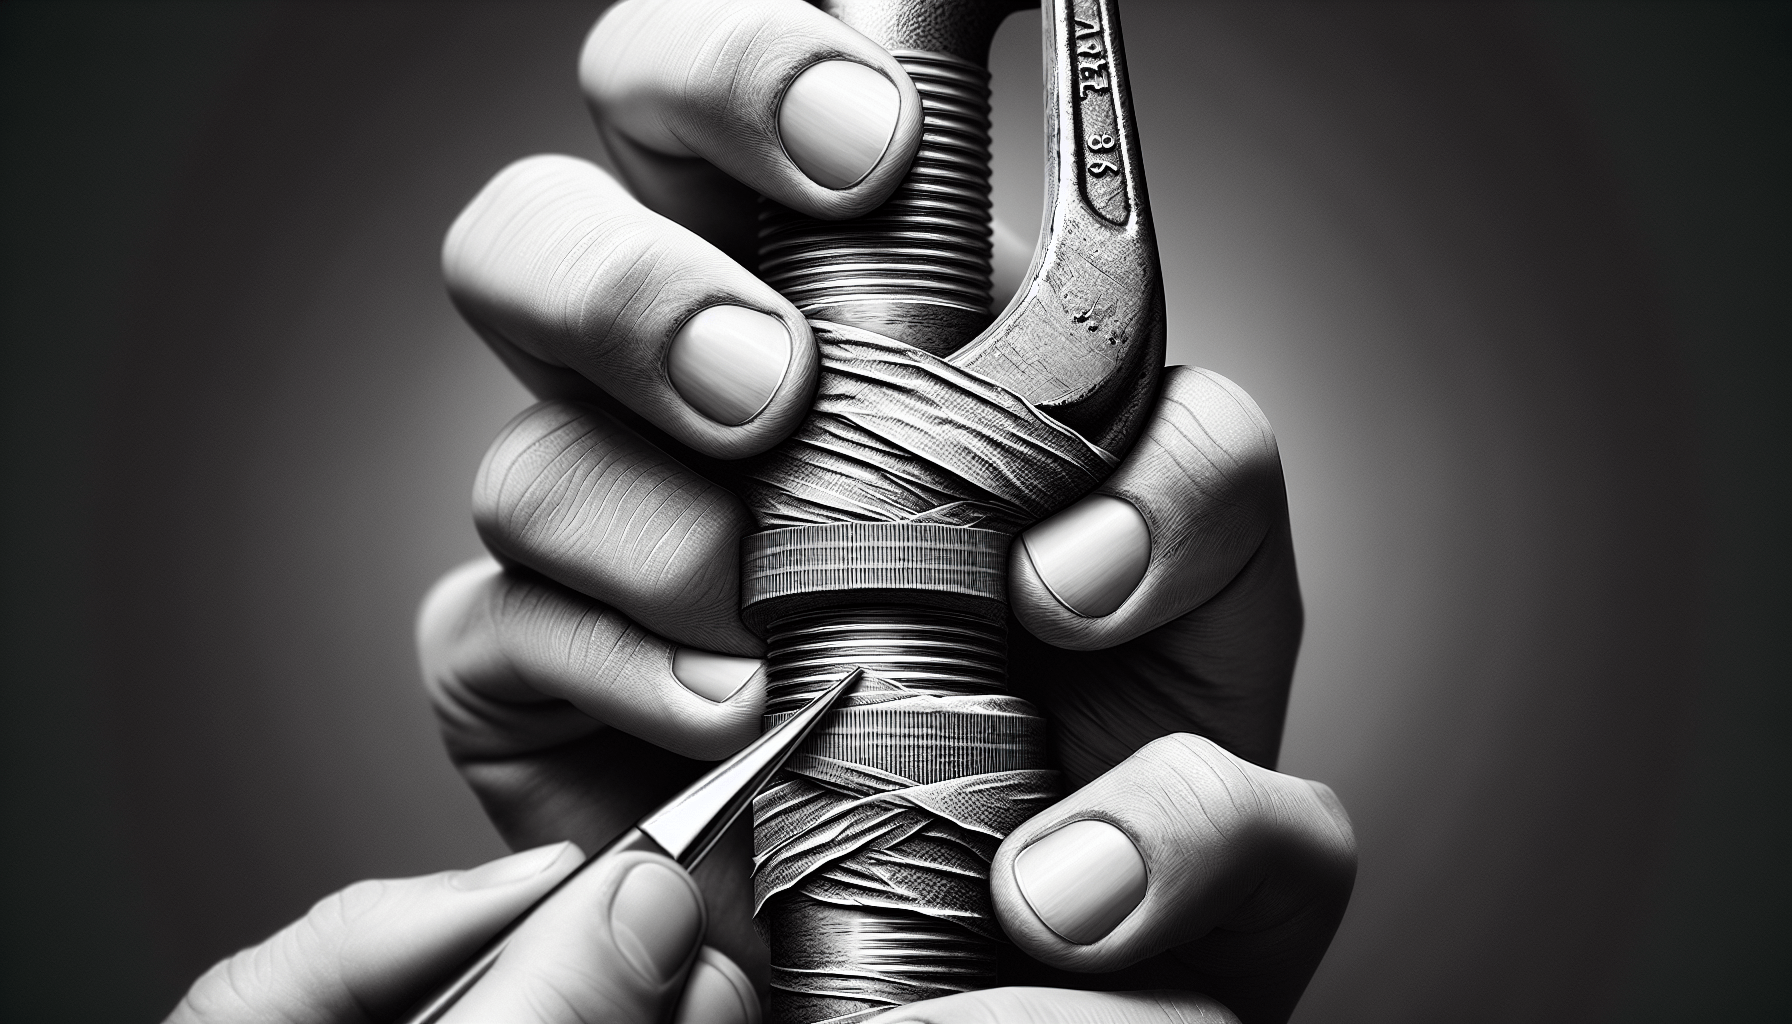
Now that you have chosen the right direction and prepared the pipe surface, it’s time to start the wrapping process. Begin by holding the loose end of the tape against the pipe, just below the first thread. Make sure to leave a small overhang to secure the end later. With one hand holding the tape, use your other hand to wrap it tightly around the pipe threads. The tape should overlap itself by about half its width as you go. Continue wrapping until you reach the end of the threaded portion, ensuring that the tape is smooth and even all the way around.
Wrapping Techniques
When it comes to wrapping plumbers tape, there are a few techniques you can use to achieve the best results. One common technique is the “stacked layers” method, where multiple layers of tape are applied in a stacked pattern. This technique helps to fill in any gaps between the threads, providing a more secure seal. Another technique is the “spiral wrap” method, where the tape is wrapped in a continuous spiral around the threads. This technique is quick and easy, but be mindful to evenly distribute the tape and avoid overlapping too much, as it may cause a bulky connection.
Securing the Tape
Once you have wrapped the plumbers tape around the pipe threads, it’s essential to secure the loose end to prevent it from unraveling. Simply press the loose end against the wrapped portion of the tape to create a secure bond. You can also use your thumb or a tool to smooth out and press down the end of the tape, ensuring it is firmly in place. This step is crucial to prevent the tape from getting caught or snagged when connecting the pipes, as it could lead to an imperfect seal.
Dealing with Teflon Tape
Teflon tape, a specific type of plumbers tape, has become widely popular due to its superior flexibility and resistance to chemicals. When working with Teflon tape, the wrapping technique remains the same as with regular plumbers tape. However, it’s important to note that Teflon tape is typically thicker and denser. This means that you may need to adjust the number of wraps accordingly. Remember to follow the manufacturer’s instructions for the particular type and brand of Teflon tape you are using, as some variations may require additional steps or considerations.
Tips and Best Practices
To ensure success when working with plumbers tape, here are some valuable tips and best practices to keep in mind:
-
Use the correct size of tape for the job. Plumbers tape is available in different widths and thicknesses, so select the appropriate size based on the pipe and fitting dimensions.
-
Apply the tape evenly and tightly. Avoid stretching or tearing the tape while wrapping, as this can compromise its effectiveness. A snug and smooth wrap will create a better seal.
-
Don’t overdo it with the tape. While it’s important to have adequate coverage, excessive layers of tape can actually lead to leaks or difficulties in tightening the fitting.
-
Consider using pipe dope in conjunction with plumbers tape. Pipe dope, also known as pipe joint compound, can enhance the sealing properties of the tape, especially in high-pressure applications.
-
Check for leaks and make any necessary adjustments. After connecting the pipes, turn on the water supply and inspect for any signs of leaks. If you notice any leaks, gently tighten the fitting or add an extra layer of tape to reinforce the seal.
Using Plumbers Tape for Different Purposes
Although most commonly used for pipe joints, plumbers tape has various other applications in plumbing projects. Here are a few examples:
-
Showerheads and faucets: Wrapping plumbers tape around the threaded connections of showerheads and faucets helps prevent leaks and ensures a tight seal.
-
Toilet connections: Applying plumbers tape to the threads of toilets helps create a watertight connection between the tank and the bowl, preventing leaks.
-
Gas lines: Plumbers tape can also be used on gas lines to seal threaded fittings and prevent gas leaks. However, always consult a professional if you are unsure about working with gas lines.
-
Outdoor plumbing: When working on outdoor plumbing fixtures, such as garden hoses or sprinkler systems, using plumbers tape provides added protection against water leaks.
Troubleshooting Common Issues
Even with proper technique and precautions, you may encounter some common issues when working with plumbers tape. Here are a few troubleshooting tips:
-
Tangled or twisted tape: If the tape becomes tangled or twisted while wrapping, start over with a new piece. It’s essential to maintain a smooth and even application for optimal sealing.
-
Inadequate seal: If you notice a leak after wrapping the tape, carefully inspect the connection. Ensure that the tape has been wrapped tightly and evenly, with no gaps or air pockets.
-
Tape unraveling: If the tape begins to unravel or come loose, rewrap it with an additional layer of tape. Press down firmly to secure the loose end and ensure a tight seal.
-
Difficulty in tightening the fitting: If you find it challenging to tighten the fitting, particularly when using multiple layers of tape, you may need to adjust the number of wraps or consider using a thinner tape.
Final Thoughts
Knowing which way to wrap plumbers tape is an essential skill for any DIY plumber. By following the right direction, preparing the pipe surface, using proper wrapping techniques, and securing the tape, you can achieve leak-free connections and ensure the success of your plumbing projects. By understanding the specific requirements of Teflon tape, utilizing helpful tips and best practices, exploring different uses for plumbers tape, troubleshooting common issues, and remaining diligent throughout the process, you’ll be well on your way to becoming a confident and successful DIY plumber. Happy wrapping!