If you’re looking for a simple and straightforward guide on how to wire a thermostat to your RV AC unit, you’ve come to the right place! In this article, we will walk you through the step-by-step process of connecting a thermostat to your RV’s air conditioning system. Whether you’re a seasoned RV owner or a newbie, this guide will provide you with all the information you need to successfully wire a thermostat and enjoy a comfortable and controlled temperature inside your RV. So let’s get started and make your next RV adventure even more enjoyable!

Selecting the Right Thermostat
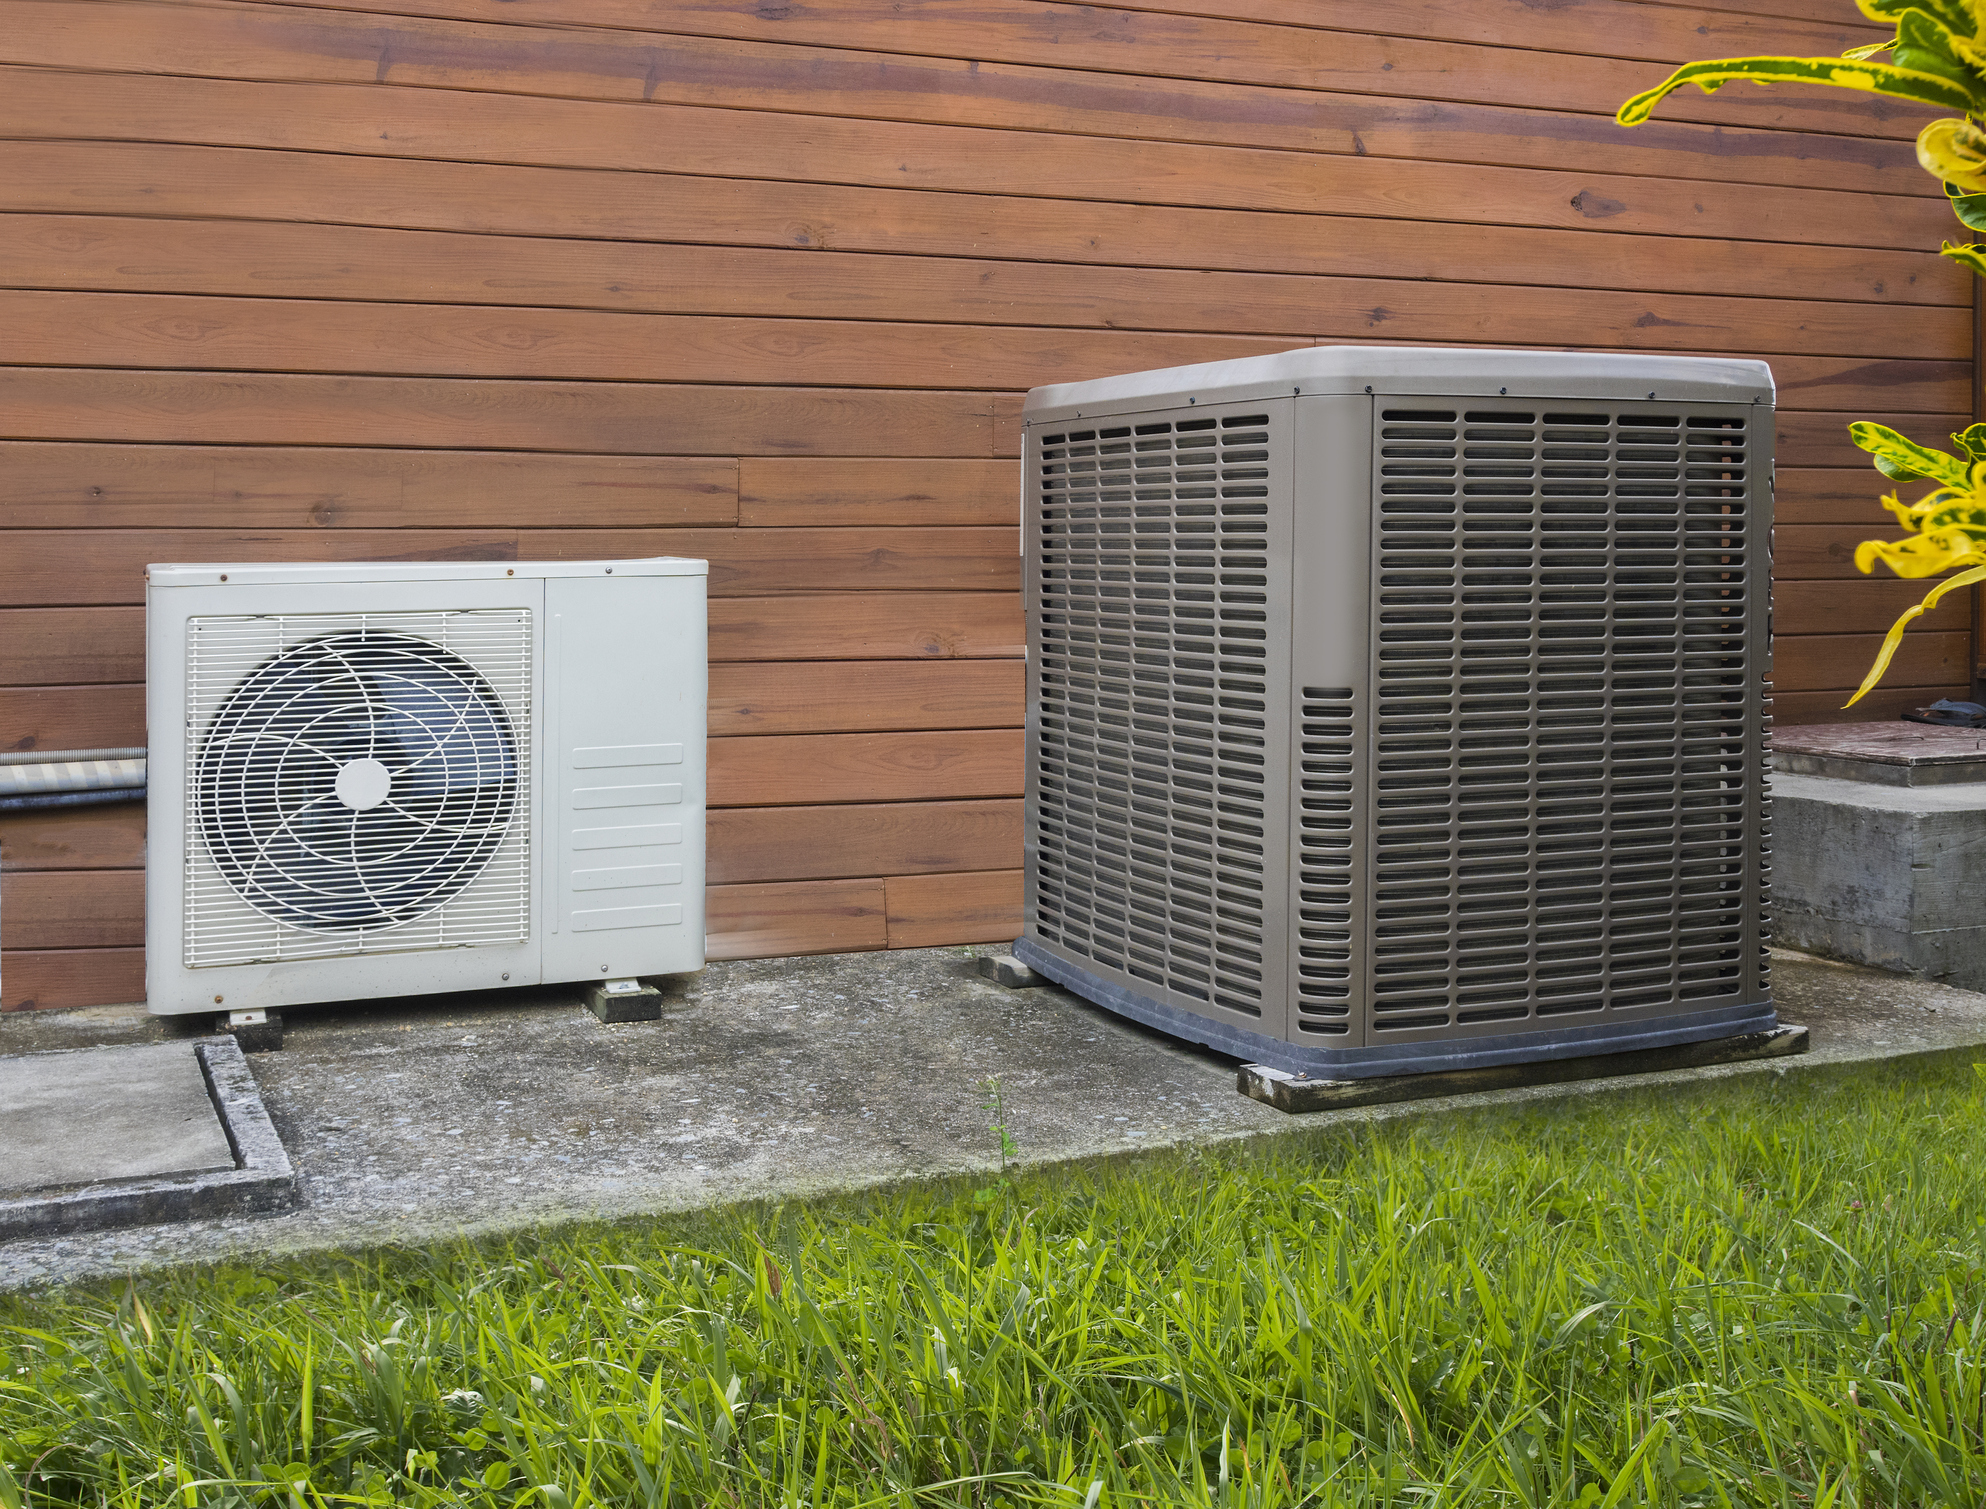
When it comes to selecting the right thermostat for your RV’s AC unit, there are a few important factors to consider. One of the first things you’ll need to check is compatibility with your AC unit. Not all thermostats are designed to work with every AC unit, so it’s essential to choose one that is specifically designed for use with RV AC systems.
Another important consideration is the voltage requirements of your AC unit. RV AC units typically operate on either 12 volts or 24 volts, so you’ll need to choose a thermostat that matches the voltage requirements of your unit.
Lastly, you’ll want to decide whether a programmable or non-programmable thermostat is the right choice for you. Programmable thermostats allow you to set specific temperature schedules for different times of the day, while non-programmable thermostats offer simpler and more straightforward manual control. Consider your personal preferences and needs when making this decision.
Gathering the Necessary Tools and Materials
Before you begin the wiring process, it’s important to gather all the necessary tools and materials. Here’s a list of the tools you’ll need:
- Screwdriver (flathead and Phillips head)
- Wire strippers
- Wire connectors
- Electrical tape
And here are the materials you’ll need:
- New thermostat
- Mounting screws
- Optional: wire labels (to help keep track of the wires during the installation process)
Having all these tools and materials on hand will ensure a smooth installation process.
Understanding the RV AC Unit Wiring Diagram
To successfully wire a thermostat to your RV’s AC unit, you’ll need to have a clear understanding of the AC unit’s wiring diagram. This diagram will show you the different components and terminals involved in the wiring process. It’s important to study the diagram carefully to avoid any confusion during the installation.
Take some time to identify the various components and terminals shown in the wiring diagram. This will help you later on when you’re connecting the thermostat wires to the appropriate terminals.
Additionally, pay attention to the wire color codes indicated in the diagram. Each wire color represents a specific function, and understanding these codes will make the wiring process much easier.
Shutting Off Power to the RV AC Unit
Before you begin working on any electrical components, it’s crucial to shut off the power to your RV’s AC unit to avoid any electrical hazards. There are two steps you’ll need to take to ensure the power is completely disconnected.
First, turn off the AC unit itself. Locate the power switch or control panel for your AC unit and switch it to the off position. This will ensure that the unit is not receiving any power while you work on the wiring.
Next, you’ll need to disconnect the power at the circuit breaker. Locate the circuit breaker panel in your RV and find the breaker that controls the AC unit. Switch the breaker to the off position to cut off power to the unit completely.
By taking these two precautions, you can work on the thermostat wiring with peace of mind.

Removing the Old Thermostat
To begin the installation process, you’ll need to remove the old thermostat from your RV’s wall. Start by removing the thermostat cover, which is usually held in place by a few screws. Use a screwdriver to carefully remove these screws and lift the cover off.
Once the cover is off, you’ll see the wires connected to the old thermostat. Use your screwdriver to loosen the terminal screws and disconnect the wires one by one. Remember to take note of which wire goes to which terminal or use wire labels to keep track of them. This will make it easier when you’re connecting the wires to the new thermostat later on.
Mounting the New Thermostat
After removing the old thermostat, it’s time to mount the new thermostat on your RV’s wall. Before doing so, choose the right location for your thermostat. Ideally, it should be installed in a central and easily accessible area of your RV.
Once you’ve decided on the location, use the mounting screws provided with the new thermostat to attach the thermostat base to the wall. Make sure it is securely fastened so that it can support the weight of the thermostat.

Wiring the Thermostat
Now comes the wiring process, which involves connecting the wires from your RV’s AC unit to the new thermostat. Refer to the RV AC unit wiring diagram and identify the appropriate terminals for each wire.
Start by stripping the ends of the wires to expose a small section of bare wire. This will make it easier to insert the wires into the terminal screws of the thermostat.
Carefully connect each wire to its corresponding terminal on the thermostat. Use your screwdriver to tighten the terminal screws and ensure a secure connection. Double-check that each wire is connected to the correct terminal, as any incorrect wiring can lead to malfunctions or damage.
To further secure the connections, use wire connectors or electrical tape to cover the exposed ends of the wires. This will protect against any potential short circuits or loose connections.
Connecting the Thermostat to the RV AC Unit
Once the thermostat is wired and securely mounted, it’s time to connect it to your RV’s AC unit. Start by tapping into the power supply wiring. Follow the wiring diagram and locate the appropriate wires that connect the AC unit to the power supply.
Make the necessary connections by attaching the corresponding wires from the thermostat to the power supply wiring. Use wire connectors or electrical tape to secure the connections and prevent any loose or exposed wires.
Once all the connections are made, ensure that they are properly secured and free from any potential hazards, such as sharp edges or excessive tension. This will help prevent any accidents or damage during the operation of the AC unit.
Testing the Thermostat and AC Unit
After completing the wiring and connections, it’s important to test the thermostat and AC unit to ensure everything is working properly. Begin by verifying that all the wiring connections are correct and secure. Double-check that there are no loose or exposed wires.
Next, test the functions of the thermostat. Adjust the temperature settings and observe if the AC unit responds accordingly. Ensure that the temperature readings on the thermostat match the actual temperature in your RV.
Finally, check the operation of the AC unit itself. Turn it on and listen for any unusual noises or vibrations. Feel the airflow to ensure it is blowing cold air as expected. If everything seems to be in working order, then you have successfully wired the thermostat to your RV’s AC unit.
Safety Precautions
Throughout the entire process of wiring a thermostat to your RV’s AC unit, it’s crucial to prioritize safety. Before starting any work, always turn off the power to the AC unit and disconnect power at the circuit breaker. This will minimize the risk of electrical hazards.
When handling wires and components, be sure to exercise caution and care. Avoid touching exposed wires with bare hands and use appropriate tools, such as wire strippers and screwdrivers, to handle them safely. Take your time and double-check all connections to ensure they are secure and free from any potential dangers.
By taking these safety precautions, you can successfully wire a thermostat to your RV’s AC unit while minimizing the risk of accidents or damage. Following the proper steps and guidelines will ensure a smooth and effective installation process.