So, you’ve decided to beat the summer heat by installing an AC window unit, but you’re not quite sure where to begin. Don’t worry, we’ve got you covered! In this article, we’ll walk you through the step-by-step process of installing an AC window unit, helping you keep your cool and stay comfortable all summer long. From selecting the right location to ensuring a secure installation, you’ll have your AC up and running in no time. So, let’s get started on turning your window into a refreshing oasis!
Preparation
Before you begin installing your AC window unit, it’s important to gather all the necessary tools. These tools may include a screwdriver, measuring tape, level, brackets, and a caulking gun. Having these tools on hand will make the installation process much smoother.
Once you have your tools ready, you’ll need to choose the right location for your AC unit. It’s important to select a window that is close to an electrical outlet and away from any obstructions. Additionally, choose a window that is easily accessible for maintenance and cleaning purposes.
Before you proceed, check the window dimensions to ensure that your AC unit will fit properly. Measure the width and height of the window opening. This will help you determine if you need to make any adjustments or purchase a different unit.
Clear the area around the window to make installation easier. Remove any curtains, blinds, or furniture that may be obstructing the window. Creating a clear workspace will give you ample room to work and prevent any accidents during the installation process.
Assembling the Unit
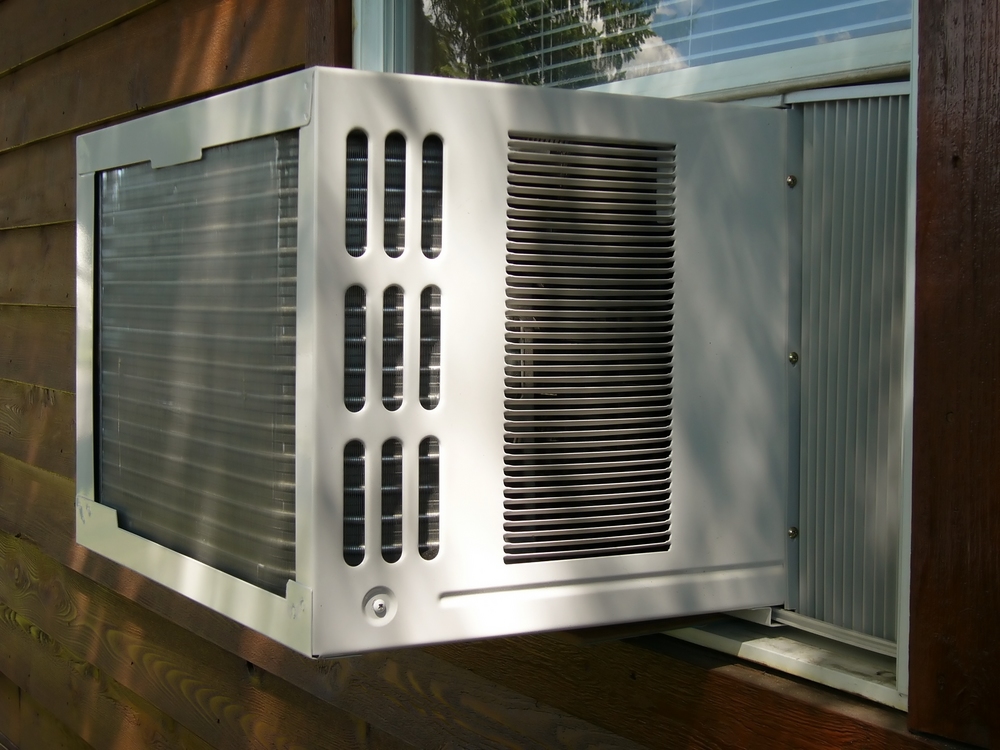
Now that you’re ready to begin assembling your AC window unit, start by unboxing the unit. Carefully remove the unit from its packaging and ensure that all the necessary components are included. This may include the unit itself, side curtains, accordion panels, and a drainage hose.
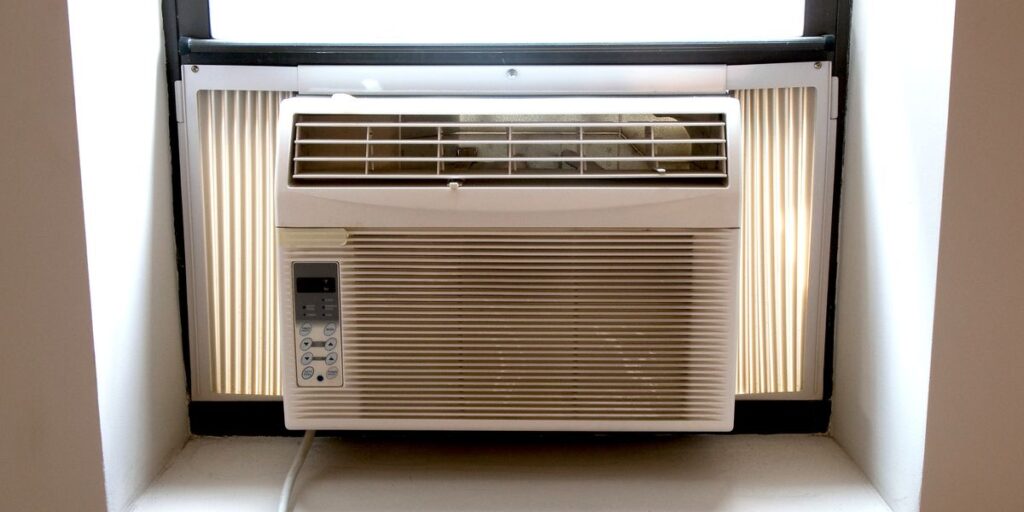
Next, attach the side curtains to the unit. These curtains help to seal the gaps on the sides of the unit, ensuring that cool air remains inside and hot air stays outside. Follow the instructions provided by the manufacturer to securely attach the curtains to the unit.
Once the side curtains are attached, mount the accordion panels. These panels fill the gap between the unit and the sides of the window, providing additional support and stability. Adjust the panels to fit the window opening and secure them in place.
Connect the drainage hose to the unit. This hose is responsible for draining the condensation that accumulates within the unit. Make sure the hose is securely attached to the unit, and position the other end of the hose in a suitable location for proper drainage.
Installing the Unit
It’s time to install your AC window unit! Begin by opening the window fully. This will allow you to easily maneuver the unit into position.
Next, remove the window sash. This may involve lifting the sash up and pulling it out, or sliding the sash to the side. Check the instructions provided by the manufacturer for the specific steps for your window type.
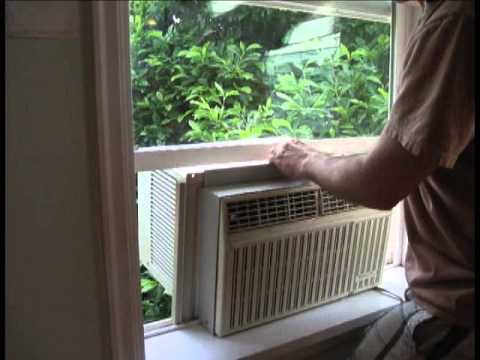
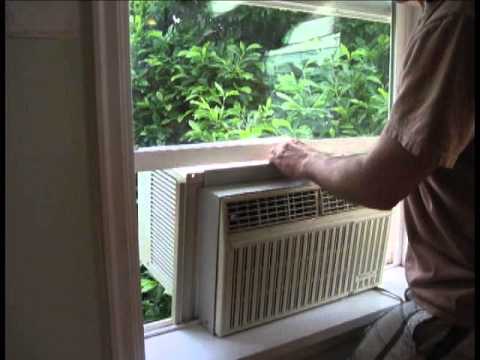
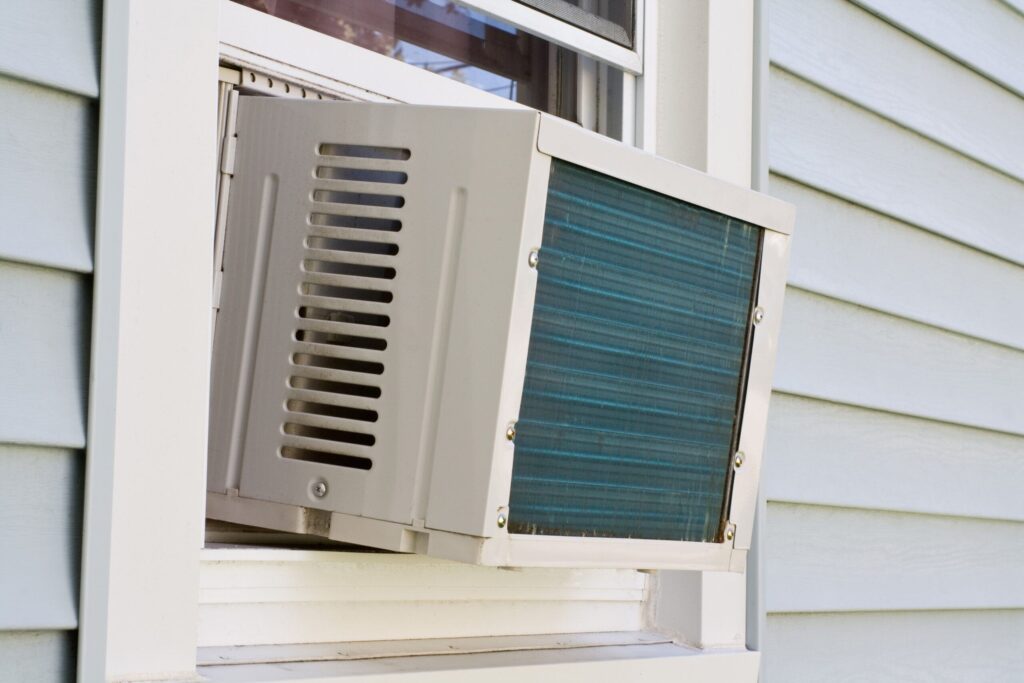
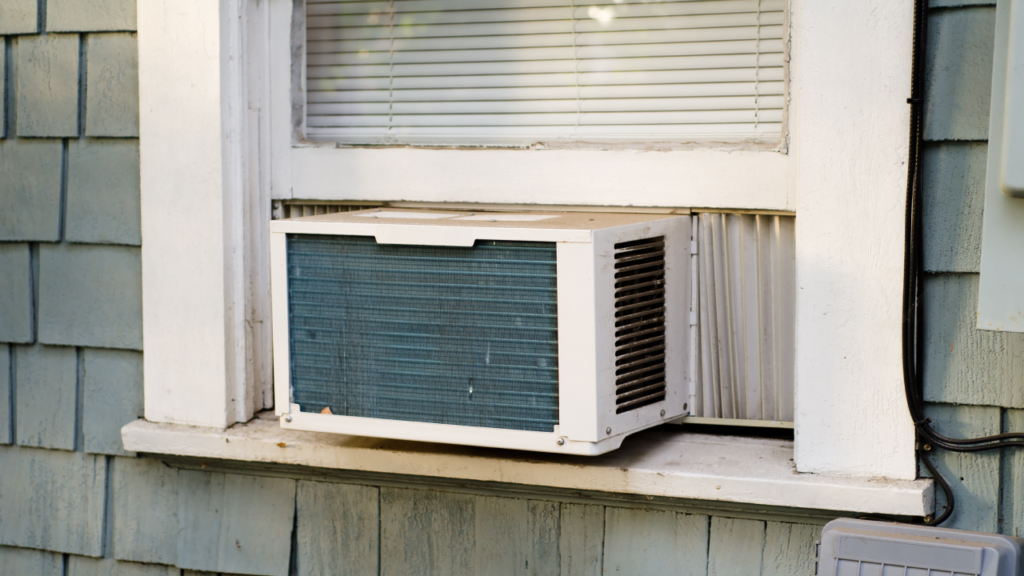
Carefully place the AC unit on the windowsill, making sure to center it within the window opening. Take your time to ensure that the unit is properly aligned and positioned before moving on to the next step.
Once the unit is in place, use a level to make sure it is balanced. Adjust the unit as needed to ensure it is sitting level on the windowsill. This is important for proper operation and to prevent any potential damage to the unit.
Secure the unit with brackets. Brackets are typically provided by the manufacturer and are used to secure the unit in place, preventing it from shifting or falling out of the window. Install the brackets according to the instructions provided, ensuring they are firmly attached.
After securing the unit with brackets, close the window onto the unit. This may involve lowering the upper sash onto the unit or sliding the window panels closed. Make sure the window is securely closed to create a tight seal.
Finally, lock the window to ensure it does not accidentally open while the AC unit is running. This is an important safety precaution to prevent any accidents or damage to the unit.
Making Electrical Connections
To power on your AC window unit, you’ll need to make the necessary electrical connections. Start by preparing the electrical cord. Unravel the cord and ensure it is free from any tangles or knots.
Insert the plug into the electrical outlet. Make sure the outlet is in good working condition and can handle the electrical load of the AC unit. If necessary, use a surge protector to protect against power surges.
Once the plug is inserted, connect the AC unit to electricity. You may need to press a power button or switch to activate the unit. Refer to the instruction manual provided by the manufacturer for specific instructions on powering on your AC window unit.
Adjusting the Unit
Now that your AC unit is up and running, it’s time to adjust the settings to create a comfortable indoor environment. Start by setting the desired temperature. Use the control panel or remote control to adjust the temperature to your liking.
Select the appropriate fan speed. Most AC units offer multiple fan speed options, such as low, medium, and high. Choose the fan speed that provides the desired level of airflow and noise.
Adjust the airflow direction. Some AC units allow you to adjust the direction of the air vents. This can help evenly distribute the cool air throughout the room. Experiment with different airflow directions to find the most comfortable setting for you.
Activate any additional features that your AC unit may offer. This could include a timer function, sleep mode, or energy-saving mode. Read the instruction manual to familiarize yourself with these features and determine how they can enhance your comfort and energy efficiency.
Testing the Unit
After adjusting the settings, it’s time to test your AC unit. Switch on the unit and listen for the sound of the compressor kicking in. This indicates that the unit is properly working to cool the air.
Check for proper cooling operation. Place your hand in front of the unit and feel for the cool air being emitted. If the air feels significantly cooler than the room temperature, your AC unit is functioning correctly.
Listen for any unusual noises. While some noise is normal, excessive rattling, buzzing, or grinding may indicate a problem with the unit. If you notice any concerning noises, consult the troubleshooting section of the instruction manual or contact a professional for assistance.
Inspect for any water leaks. Check around the unit and window area for any signs of water leakage. While a small amount of condensation is normal, excessive water leakage may indicate a problem with the drainage system. Address any leaks promptly to prevent damage to your home.
Sealing and Insulating
To ensure optimal performance and energy efficiency, it’s important to properly seal and insulate your AC unit. Insulate any gaps around the unit using foam or weatherstripping. This will prevent cool air from escaping and hot air from entering your home.
Apply weatherstripping to prevent drafts. This can be applied around the edges of the unit or the window opening to create a tight seal. Weatherstripping helps to minimize air leaks and improve the overall efficiency of your AC unit.
Seal the window with caulk. This further enhances the seal between the unit and the window, preventing any air leaks. Apply a generous amount of caulk along the edges of the window, ensuring a secure and airtight seal.
Maintenance and Cleaning
Regular maintenance and cleaning are essential to keep your AC window unit running smoothly and efficiently. Here are some important maintenance tasks to perform:
Clean or replace the air filter regularly. The air filter traps dust and debris, preventing it from entering your home. A clogged or dirty filter can restrict airflow and reduce the cooling efficiency of your unit. Follow the manufacturer’s instructions for cleaning or replacing the filter.
Clean the surfaces of your AC unit. Wipe down the exterior surfaces with a damp cloth to remove any dirt or dust buildup. Be sure to turn off the unit and unplug it before cleaning. Avoid using harsh chemicals or abrasive materials that could damage the unit.
Check and clean the drainage system. Over time, the drainage system can become clogged with dirt, debris, or algae. Inspect the drain pan and drainage hose for any blockages and remove them as necessary. This will prevent water from accumulating and potentially causing damage to your unit.
Schedule regular maintenance with a professional. It’s a good idea to have your AC unit inspected and serviced by a professional on a regular basis. They can perform in-depth maintenance tasks, such as lubricating moving parts, checking refrigerant levels, and ensuring optimal performance.
Troubleshooting
Even with proper installation and maintenance, issues with your AC window unit may arise. Here are some common problems and possible solutions:
If your AC unit does not turn on, check the power supply and ensure that the unit is properly plugged in. If the problem persists, consult the troubleshooting section of the instruction manual or contact a professional for assistance.
If your unit blows warm air instead of cool air, check the temperature settings and ensure that the unit is set to a lower temperature than the room temperature. If the issue persists, it may indicate a problem with the compressor or refrigerant levels. Contact a professional for further diagnosis and repair.
Excessive noise coming from the unit may indicate a problem with the fan motor, bearings, or other internal components. Turn off the unit and contact a professional for inspection and repair.
Water leaking inside the room may be a sign of a clogged drainage system or a faulty drain pan. Check the drainage hose and drain pan for any blockages and ensure they are functioning properly. If the problem persists, contact a professional for assistance.
Safety Precautions
When installing and operating your AC window unit, it’s important to prioritize safety. Here are some safety precautions to keep in mind:
Read the instruction manual carefully before installation. Familiarize yourself with the safety guidelines and proper handling procedures for your specific AC unit.
Ensure proper handling of the unit. AC window units can be heavy, so it’s important to lift and carry them with caution. Enlist the help of another person if needed to avoid strain or injury.
Avoid electrical hazards. Make sure to plug your unit into a properly grounded electrical outlet and never use extension cords. If you are unsure about the electrical setup, consult a professional electrician.
Be cautious during installation. Take your time and use proper techniques when installing the unit. Avoid forcing the unit into place or using excessive pressure, as this may damage the unit or your window.
By following these comprehensive steps and safety precautions, you can effectively install, operate, and maintain your AC window unit. Stay cool and comfortable all summer long!
