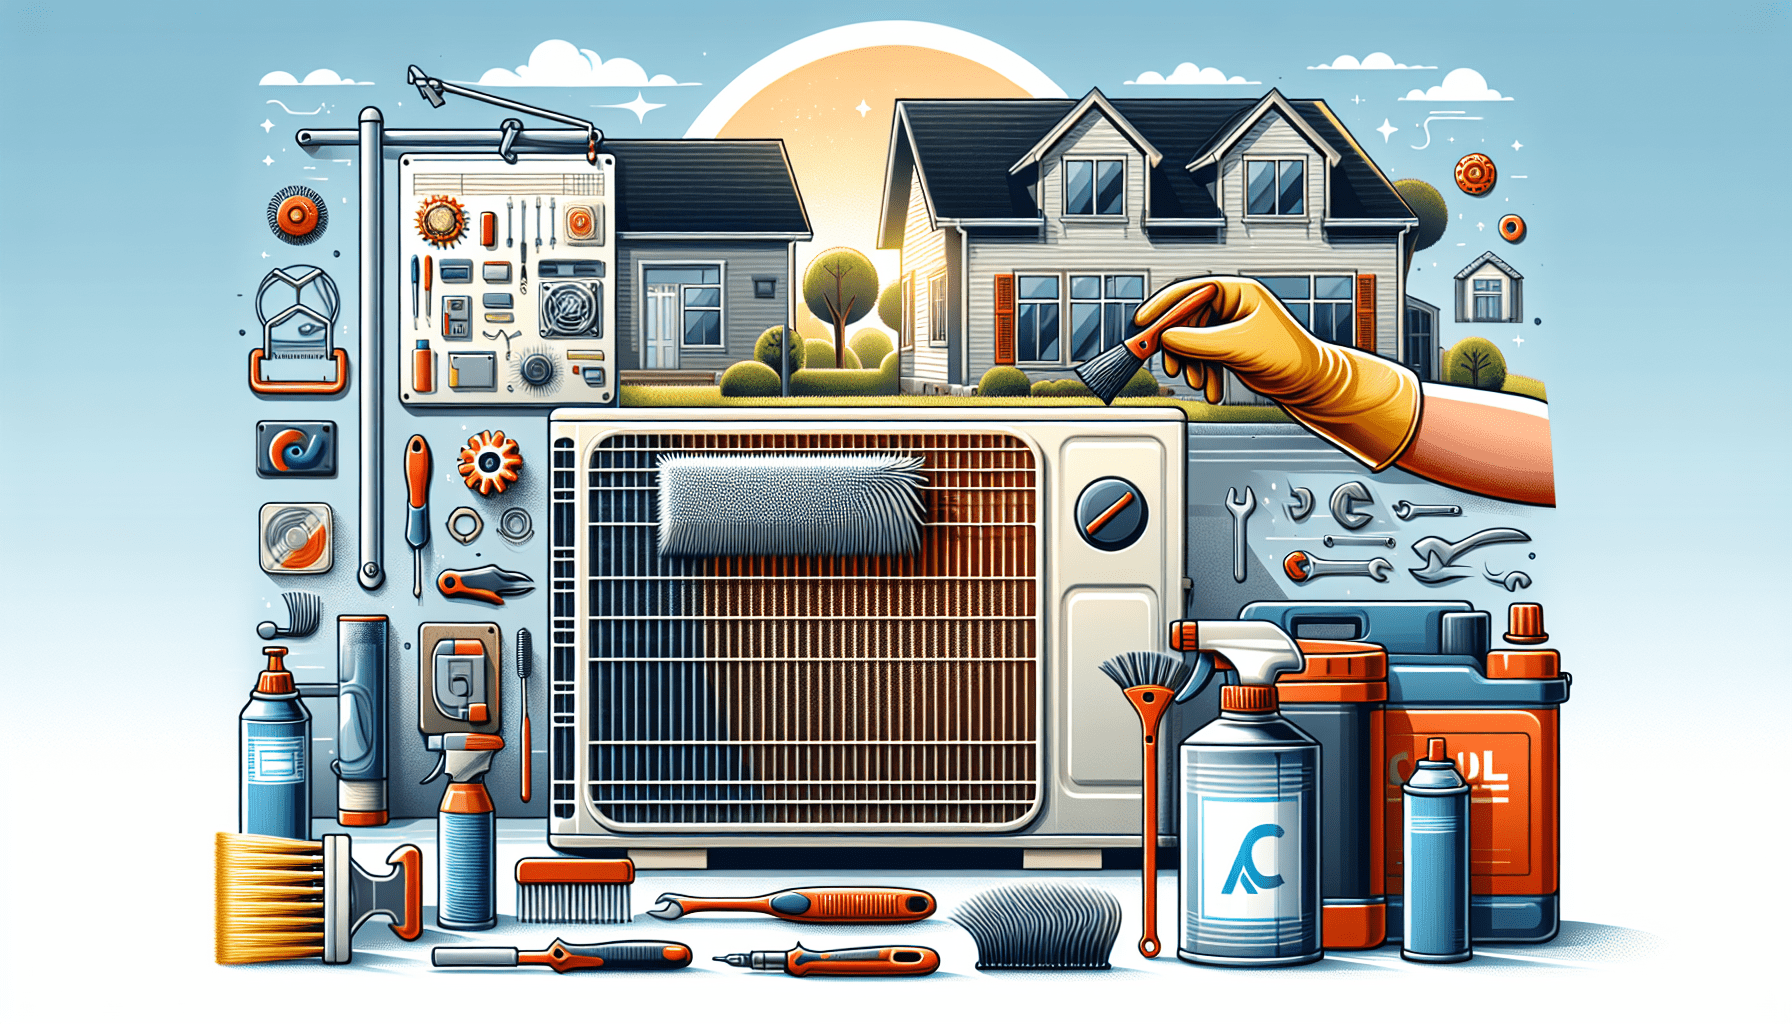
Imagine coming home on a hot summer day, only to find that your AC unit is completely frozen. Frustrating, right? But fear not, because in this article, you’ll discover some simple yet effective ways to fix that frozen AC unit of yours. So, grab a cold drink and get ready to learn how to thaw out your cooling system and restore the comfort of your home.

Check Air Filter
Inspect the Air Filter
The first step in resolving any issue with your AC unit is to check the air filter. A dirty or clogged air filter can cause restricted airflow, leading to poor cooling performance and potential damage to the unit. To inspect the air filter, locate the filter housing, which is usually situated near the return air duct. Open the housing and carefully remove the filter. Hold it up to a light source and see if you can spot any dirt or debris accumulation. If the filter looks dirty or clogged, it’s time for a replacement or cleaning.
Replace or Clean the Air Filter
If the air filter is excessively dirty, it’s best to replace it with a new one. Most air filters are disposable and can be easily purchased at your local hardware store. When selecting a new filter, make sure to choose the correct size and type for your AC unit. If the filter is only lightly soiled, you can clean it to extend its lifespan. Use a vacuum cleaner or rinse it with water, depending on the type of filter. Allow the filter to dry completely before reinstalling it. Remember to follow the manufacturer’s recommendations when it comes to cleaning or replacing your air filter to ensure effective filtration and optimal performance.
Clean the Coils
Locate the Coils
The coils in your AC unit play a crucial role in the cooling process. Over time, these coils can become dirty, hindering their ability to transfer heat efficiently. To clean the coils, you first need to locate them. In most AC units, you can find the outdoor coil (condenser coil) and the indoor coil (evaporator coil). The outdoor coil is typically located in the outdoor unit, while the indoor coil is found in the air handler or furnace. Take a moment to familiarize yourself with the unit’s layout before proceeding.
Clean the Coils
Cleaning the coils is a relatively simple task that can greatly improve the performance of your AC unit. Start by turning off the power to the unit by switching off the circuit breaker. For the outdoor coil, use a garden hose to gently spray water from top to bottom, removing any debris or dirt buildup. Be careful not to use excessive water pressure, as it can damage the delicate fins of the coil. For the indoor coil, access it by removing the access panel on the air handler or furnace. Use a soft brush or a coil cleaning solution recommended by the manufacturer to clean the coil. Take extra care not to bend the fins while cleaning. Once you’ve finished cleaning, allow the coils to dry completely before reassembling the unit and turning the power back on.
Check the Fan
Inspect the Fan
The fan in your AC unit is one of the main components responsible for circulating air throughout your home. If the fan malfunctions or becomes dirty, it can lead to airflow issues and poor cooling performance. To inspect the fan, first, turn off the power to the unit. Locate the fan, which is typically found in the outdoor unit. Check for any visible signs of damage, such as bent blades or loose connections. Additionally, examine the fan motor and fan belt (if applicable) for any signs of wear or damage.
Clean or Repair the Fan
If the fan blades are dirty, carefully clean them using a soft brush or a cloth. Make sure to remove any dirt or debris that may have accumulated, as this can hinder the fan’s performance. If the fan blades are bent or damaged, it’s best to contact a professional to have them repaired or replaced. Similarly, if you notice any issues with the fan motor or fan belt, it’s advisable to seek professional help for repairs. Handling electrical or mechanical repairs without proper knowledge can be dangerous and may further damage the unit.
Check Refrigerant Levels
Check for Leaks
Insufficient refrigerant levels can cause your AC unit to blow warm air or struggle to cool effectively. If you suspect low refrigerant levels, it’s important to check for leaks before recharging the refrigerant. Start by turning off the power to the unit. Next, locate the refrigerant lines, which are usually covered with insulation. Inspect the lines carefully, looking for any signs of oil stains, corrosion, or physical damage. These could indicate a refrigerant leak.
Recharge Refrigerant if Necessary
If you are confident that there are no leaks in the refrigerant lines, you can proceed with recharging the refrigerant. However, please note that handling refrigerant requires specialized equipment and knowledge, which is why it’s often best to leave this task to a professional HVAC technician. They have the expertise to safely handle refrigerant and ensure the correct amount is added to your AC unit. Trying to recharge the refrigerant yourself without proper training can lead to further complications and potential harm to yourself and the environment.

Inspect the Thermostat
Check the Settings
A faulty or improperly calibrated thermostat can cause your AC unit to malfunction or cycle irregularly, leading to discomfort and inefficient cooling. Start by checking the thermostat settings to ensure they are properly configured. Make sure it is set to “cool” or “auto” mode, depending on your preferences. Verify that the desired temperature is set correctly and that there are no programming errors or overrides in place.
Replace or Calibrate the Thermostat
If you suspect your thermostat is not functioning correctly, it may be time for a replacement. Modern thermostats offer advanced features, such as programmable settings and Wi-Fi connectivity, that can enhance your comfort and energy efficiency. Consider upgrading to a smart thermostat that allows you to control and monitor your AC unit remotely. If you have an older thermostat and it is still in good condition, you can try recalibrating it. Refer to the manufacturer’s instructions for specific steps on how to recalibrate your thermostat. However, if you are unsure or uncomfortable with handling the calibration process, it’s best to seek professional assistance to ensure accurate readings and optimal performance.
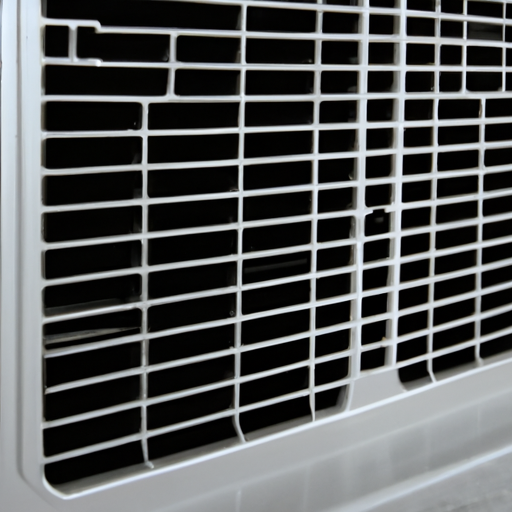
Check for Airflow Restrictions
Inspect Vents and Registers
Blocked or obstructed vents and registers can significantly impact the airflow in your home and cause your AC unit to work harder than necessary. Take a moment to inspect all the vents and registers throughout your house. Make sure they are clean and free from any obstructions, such as furniture, curtains, or rugs. Additionally, check that the vents are fully open and not partially closed, as this can restrict airflow.
Remove Obstructions
If you discover any obstructions near the vents or registers, such as furniture blocking the airflow, make the necessary adjustments to ensure proper air circulation. Clear away any items that are impeding the flow of air and ensure a clear path for optimal performance. Regularly cleaning the vents and registers can also help prevent dust and debris buildup, maintaining unrestricted airflow throughout your home.

Unclog the Drain Line
Locate the Drain Line
Your AC unit has a drain line that removes excess moisture produced during the cooling process. Over time, this drain line can become clogged with dirt, algae, or debris, leading to water leaks or unit shutdowns. First, locate the drain line, typically found near the indoor unit. It is a PVC pipe extending from the unit and often leads to a floor drain or an outdoor area.
Clear the Clog
To clear a clogged drain line, start by turning off the power to the unit. Inspect the drain line for any visible signs of clogs. If the clog is minor, you can attempt to clear it yourself using a wet/dry vacuum or a small plumbing snake. Gently feed the vacuum or snake into the drain line to break up and remove the clog. For more stubborn clogs or if you are uncertain about how to proceed, it’s best to contact a professional HVAC technician. They will have the necessary tools and expertise to safely and effectively unclog the drain line, ensuring proper drainage and preventing potential water damage.
Check for Insufficient Insulation
Inspect Ductwork
Proper insulation is crucial for maintaining the efficiency of your AC unit. Insufficient insulation in your home’s ductwork can lead to cool air loss and waste energy. Begin by inspecting the ductwork, which is usually located in the basement, attic, or crawl spaces. Check for any obvious signs of damage, such as holes, loose connections, or disconnected sections. These can contribute to air leaks, reducing the effectiveness of your AC unit.
Add Additional Insulation if Needed
If you notice any areas of insufficient insulation, consider adding additional insulation to improve energy efficiency and cooling performance. Depending on the location and condition of the ductwork, you may be able to add insulation yourself using materials like foam tape, duct wrap, or insulation sleeves. However, if the insulation issue seems complex or beyond your expertise, it’s best to consult with a professional HVAC technician. They can assess the situation and recommend the most suitable insulation solution for your specific needs.

Inspect the Blower Motor
Check for Motor Issues
The blower motor is responsible for circulating cooled air throughout your home. If the motor is not functioning properly, it can lead to reduced airflow and inadequate cooling. To inspect the blower motor, begin by turning off the power to the unit. Locate the blower motor, typically found inside the air handler or furnace. Check for any visible signs of damage or wear, such as loose connections, worn belts, or excessive noise when the unit is running.
Repair or Replace the Blower Motor
If you encounter any issues with the blower motor, it’s crucial to address them promptly. Simple issues such as loose connections or worn belts can often be resolved with basic repairs. Tighten any loose connections and replace any worn belts to restore the blower motor’s functionality. However, if the blower motor is severely damaged or beyond repair, it may need to be replaced. Blower motor replacement is a complex task that should be handled by a professional HVAC technician. They can accurately diagnose the issue and recommend the best course of action to ensure your AC unit operates smoothly.
Call a Professional
Contact an HVAC Technician
While some AC issues can be resolved with basic maintenance and troubleshooting, there are instances when it’s best to seek the expertise of a professional HVAC technician. If you are unsure about handling any of the steps mentioned above or if you encounter complex problems that require specialized knowledge or equipment, it’s time to contact a professional.
Schedule a Repair Service
When contacting an HVAC technician, explain the issues you are experiencing in detail. Provide any relevant information, such as recent maintenance activities or unusual sounds or smells coming from the unit. The technician will schedule a repair service and assess your AC unit thoroughly to identify the root cause of the problem. They will then perform the necessary repairs or replacements, ensuring your AC unit is in optimal condition.
Remember, regular maintenance and prompt repairs are essential for the longevity and efficient operation of your AC unit. By following the steps outlined in this article, you can address common AC issues and keep your home cool and comfortable throughout the year.