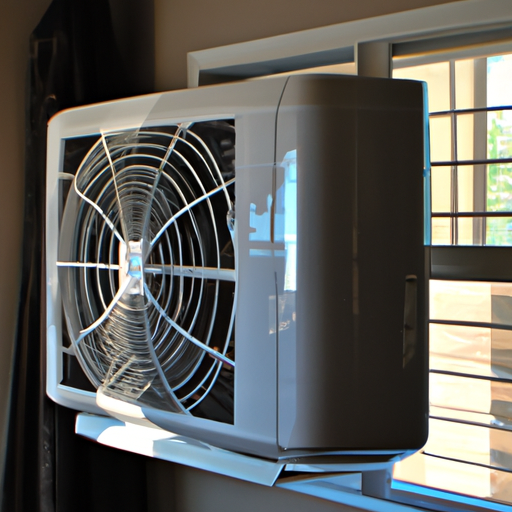
If you want to keep your home cool and comfortable during the scorching summer months, it’s important to ensure that your window AC unit is functioning properly. One of the key factors in its performance is the level of refrigerant, commonly known as Freon. In this article, we will guide you through the simple and easy steps to add Freon to your window AC unit, helping you maintain optimal cooling efficiency and enjoy a refreshing indoor environment all summer long.

How to Add Freon to Your Window AC Unit
Materials Needed
Before you begin the process of adding freon to your window AC unit, make sure you have the following materials:
- Gloves: To protect your hands while working with the AC unit.
- Safety goggles: To protect your eyes from any potential hazards.
- Freon (R-22 or R-410A): The type of freon required will depend on your specific AC unit model.
- Screwdriver: To remove any necessary panels or covers.
- Service valve wrench: To open and close the service valves.
- Pressure gauge: To monitor the pressure levels during the freon addition.
- Can tap: Used to connect the refrigerant canister to the low-pressure service valve.
- Refrigerant canister: Contains the freon that will be added to the AC unit.
- Leak detector: To identify any potential leaks in the system.
- Soap solution: Used to check for leaks by creating bubbles when applied to the service valves and connections.
Now that you have gathered all the necessary materials, let’s proceed with the step-by-step guide on how to add freon to your window AC unit.
Preparation
Step 1: Turn off the AC Unit
Before you start working on your AC unit, it is crucial to turn off the power to ensure your safety. Switch off the AC unit from the main power supply and then proceed to set the thermostat to the highest temperature. If your AC unit is plugged into a socket, unplug it to avoid any mishaps.
Step 2: Locate the Service Valves
Every AC unit has two service valves – the low-pressure valve and the high-pressure valve. These valves are crucial for adding freon to the system. To locate them, consult your AC unit’s user manual for the exact location. It is important to identify the correct valves to avoid any accidental release of freon.
Step 3: Put on Safety Gear
Now that you have familiarized yourself with the AC unit and located the service valves, it’s time to put on your safety gear. Before working with the AC unit, always wear gloves to protect your hands, and put on safety goggles to shield your eyes from any potential debris or freon leaks.
Step 4: Prepare the Freon
Choosing the appropriate freon is crucial for adding it to your AC unit. Refer to your AC unit’s user manual to determine the type of freon required for your specific model. Additionally, check the required amount of freon needed for your unit. It is essential not to overfill or underfill the system. Once you have the correct freon, securely screw the can tap onto the refrigerant canister.
Step 5: Check for Leaks
Before you start adding freon, it is important to check for any existing leaks in the AC system. To do this, mix a soap solution by combining water and dish soap. Apply the soap solution to the service valves and connections on the AC unit. Observe closely for any bubbles forming, as this indicates a leak. If you notice any bubbles, it is best to consult a professional before proceeding further.

Adding Freon
Step 6: Attach the Can Tap
To start adding freon to your window AC unit, you’ll need to connect the can tap to the low-pressure service valve. Follow the manufacturer’s instructions on how to attach the can tap tightly and securely to prevent any leaks.
Step 7: Start Adding Freon
With the can tap securely attached, it’s time to begin adding freon to your AC unit. Open the refrigerant canister valve and slowly turn the handle on the can tap. Keep a close eye on the pressure gauge to monitor the pressure levels during the freon addition. It is crucial not to overfill the system, as this can lead to damage.
Step 10: Check for Leaks Again
After the freon has been added to the AC unit, it is important to double-check for any potential leaks. Reapply the soap solution to the service valves and connections, and carefully observe for the formation of bubbles. If you notice any leaks, it is recommended to contact a professional technician for further assistance.
By following these step-by-step instructions, you can safely and effectively add freon to your window AC unit. Remember, if you are unsure or uncomfortable performing this task, it is always best to seek the help of a qualified technician to ensure the proper functioning and longevity of your AC unit. Stay cool!


