Imagine on a sweltering summer day, you’re desperate to cool down and all you wish for is an air-conditioned oasis. But here’s the catch: you have a horizontal sliding window, not a traditional one. Before breaking into a sweat, fret not! In this article, we will guide you through the simple steps of installing a window AC unit in a horizontal sliding window. Don’t let the heat win, let’s get started!
Selecting the Right Window AC Unit
When it comes to selecting the right window AC unit, there are a few factors you need to consider. The first one is determining the BTU requirement for your room. BTU stands for British Thermal Units, and it is a measurement of the cooling capacity of the AC unit. To determine the BTU requirement, you need to consider the size of the room, the number of windows, the level of insulation, and the hot climate conditions. This information can usually be found on the packaging of the window AC unit or in the product specifications.
Measure the Window Opening
Before you can proceed with the installation, it is crucial to measure the window opening accurately. This step will ensure that you choose a window AC unit that fits perfectly into the space. Measure the height, width, and depth of the window opening and note down the measurements. Make sure to take into account any obstructions such as window ledges or curtains that might affect the available space for the installation.
Consider Energy Efficiency
Energy efficiency is an essential aspect to consider when selecting a window AC unit. Energy-efficient units can help you save money on your electricity bills and reduce your carbon footprint. Look for AC units with a high energy-efficiency ratio (EER) or a good Seasonal Energy Efficiency Ratio (SEER) rating. These ratings indicate how efficiently the unit converts electricity into cooling power. Additionally, consider features such as programmable timers or sleep modes that can further optimize energy usage.
Check for Extra Features
Window AC units come with various additional features that can enhance your cooling experience. Some of these features include remote controls, adjustable fan speeds, multiple cooling modes (such as dehumidification or energy-saving modes), and air purifiers. Consider which features are important to you and choose a unit that best meets your needs and preferences.
Gathering the Necessary Tools and Materials
To ensure a smooth installation process, it is essential to gather all the necessary tools and materials beforehand. Here is a list of items you will need:
- Window AC Unit: Choose an AC unit based on your BTU requirement and the size of your window opening.
- Window Filler Panels: These panels help fill any gaps between the AC unit and the window opening.
- Weather Stripping: Weather stripping ensures a tight seal between the AC unit and the window frame, preventing drafts and improving energy efficiency.
- Screwdriver: A screwdriver will be needed to attach the filler panels and secure the AC unit.
- Level: A level will help ensure that the AC unit is properly aligned.
- Drill: You may need a drill to create holes for securing the filler panels or the AC unit.
- Measuring Tape: Use a measuring tape to measure the window opening accurately.
- Plywood (if required): In some cases, you may need plywood to create a stable base for the AC unit, especially if your window opening is larger than the AC unit.
Preparing the Window
Before installing the window AC unit, you need to prepare the window area to ensure a successful installation. Follow these steps to prepare the window:
Clean and Clear the Window Area
Start by cleaning the window area thoroughly. Remove any dust, dirt, or debris from the window sill, frame, and surrounding surfaces. This will ensure a clean and secure installation and prevent any damage to the AC unit.
Remove Any Existing Obstacles
Check the window area for any obstacles that may hinder the installation process. Remove any curtains, blinds, or window treatments that may block the AC unit or interfere with the airflow.
Check Window Security and Stability
Inspect the window for any signs of damage or instability. Make sure that the window sashes or frames are secure and in good condition. A stable window is essential for the proper installation and operation of the window AC unit.
Installing Window Filler Panels
Window filler panels are used to fill any gaps between the window opening and the AC unit. Follow these steps to install the filler panels:
Measure and Cut Filler Panels
Measure the height and width of the gaps between the window opening and the AC unit. Then, cut the filler panels to the correct size using a saw or a utility knife. Make sure the filler panels fit snugly into the gaps without blocking the airflow of the AC unit.
Attach Filler Panels to Window Frame
Hold the filler panels in place against the window frame, ensuring that they are parallel to the window sashes. Use screws or adhesive tape to secure the filler panels to the window frame. Make sure they are firmly attached and provide a tight seal.
Secure Filler Panels with Screws
If necessary, use screws to secure the filler panels further. Drill pilot holes into the window frame and attach the filler panels using screws. This will provide additional stability and ensure that the filler panels do not come loose over time.
Sealing the Window
Sealing the window is an important step to improve energy efficiency and prevent drafts and air leakage around the AC unit. Follow these steps to seal the window properly:
Apply Weather Stripping to Window Frame
Cut the weather stripping to the correct length and apply it to the window frame. The weather stripping should create a tight seal around the AC unit, preventing any air leaks. Make sure to follow the manufacturer’s instructions for the proper installation of the weather stripping.
Ensure Proper Insulation for Energy Efficiency
Check for any gaps or openings around the AC unit that may compromise insulation. Use insulation foam or tape to seal these gaps and ensure that the unit is properly insulated. This will help improve energy efficiency and maintain a comfortable indoor temperature.
Mounting the AC Unit
Now that the window is prepared and sealed, it’s time to mount the AC unit. Follow these steps to ensure a secure installation:
Place AC Unit on a Flat Surface
Place the window AC unit on a flat and stable surface, such as a table or the floor. Make sure that the unit is level to ensure proper operation and drainage. Refer to the manufacturer’s instructions for any specific mounting requirements.
Align AC Unit with Window Opening
Align the AC unit with the window opening, ensuring that it is centered and fits securely. Check that the filler panels are aligned with the sides of the unit and create a tight seal.
Secure AC Unit to Window Sash or Frame
Secure the AC unit to the window sash or frame using screws or brackets. Refer to the manufacturer’s instructions for the proper method of securing the unit. Make sure that the unit is stable and does not wobble or shift.
Adjusting the Window Opening
To allow proper airflow and ensure the safety of the installation, you need to adjust the window opening. Follow these steps to adjust the window opening:
Slide Window Partially Open
Slide the window partially open to allow the AC unit’s exhaust to vent outside. This will ensure proper airflow and prevent the accumulation of hot air or exhaust gases indoors. Make sure to leave enough space for the exhaust to escape without obstruction.
Secure Window Open for Safety
To prevent the window from accidentally closing, use window locks or wooden dowels to secure it in the partially open position. This will ensure the safety of the installation and prevent any damage or injuries.
Ensure Proper Air Flow
Check the airflow around the AC unit to ensure that there are no obstructions. Remove any curtains, blinds, or furniture that may block the movement of air. Proper airflow is crucial for the efficient cooling of the room.
Testing the AC Unit
After the installation is complete, it’s time to test the AC unit and ensure that it is functioning correctly. Follow these steps to test the AC unit:
Plug in the AC Unit
Connect the AC unit to a power source by plugging it in. Make sure that the power source meets the electrical requirements of the AC unit. The unit should power on and display its settings.
Set the Desired Temperature and Fan Speed
Use the controls on the AC unit or the remote control to set the desired temperature and fan speed. Check that the unit adjusts accordingly and starts cooling the room.
Ensure Proper Cooling and Air Circulation
Allow the AC unit to run for a while and check if it adequately cools the room. Pay attention to any unusual sounds, leaks, or malfunctions. Ensure that the air circulation is sufficient and reaches all areas of the room.
Additional Tips and Safety Measures
Here are a few additional tips and safety measures to keep in mind during and after the installation of the window AC unit:
Check Window Installation for Stability
Regularly inspect the window installation for stability. Make sure that the filler panels, weather stripping, and AC unit are securely in place. Tighten any screws or fix any loose parts to maintain a stable and safe installation.
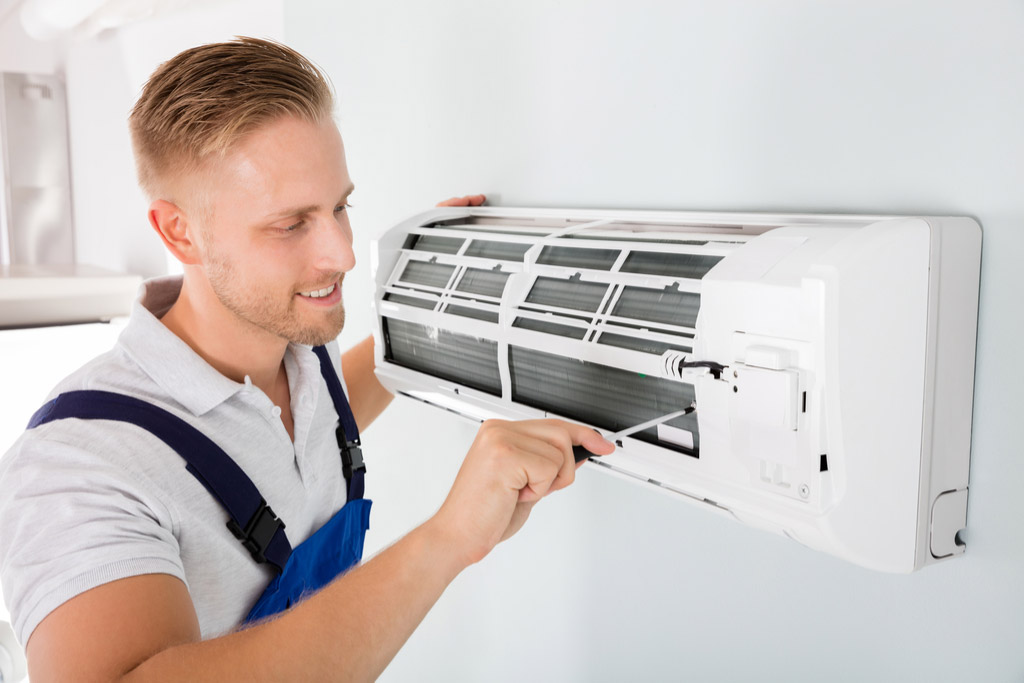
Regularly Clean and Maintain the AC Unit
To ensure optimal performance, regularly clean and maintain the window AC unit. Clean or replace the filters as recommended by the manufacturer. Keep the unit free from dust and debris to prevent airflow restrictions and potential malfunctions.
Consider Professional Installation for Complex Cases
If you encounter any challenges or have a complex installation scenario, consider hiring a professional for assistance. They have the expertise and tools to handle various installation situations and ensure a safe and efficient setup.
Follow Manufacturer’s Guidelines and Safety Instructions
Lastly, always follow the manufacturer’s guidelines and safety instructions when installing and operating the window AC unit. These instructions provide valuable information specific to your unit and ensure optimal performance and safety.
Conclusion
By following the steps outlined in this article, you can confidently install a window AC unit in a horizontal sliding window. Properly selecting the right unit, preparing the window area, installing filler panels, sealing the window, mounting the AC unit securely, adjusting the window opening, and testing the unit’s functionality will ensure a comfortable and energy-efficient cooling experience. Remember to consider additional tips and safety measures, and enjoy the comfort of a properly installed window AC unit while saving energy. Stay cool!