
Installing a split AC unit may seem daunting at first, but with a little guidance, it can be a straightforward process. In this article, you will discover the step-by-step process of how to install a split AC unit effectively and efficiently. Whether you are a seasoned DIY enthusiast or a beginner, this guide will provide you with the necessary information to successfully install your split AC unit and keep your home comfortably cool all year round. So let’s jump right in and learn how to get your split AC unit up and running in no time!
Planning and Preparation
Choosing the Right Location
When it comes to installing a split AC unit, choosing the right location is crucial. You want to select a spot where the airflow won’t be obstructed, ensuring optimal cooling efficiency. Look for a place that is away from direct sunlight, as this can affect the performance of your unit. Additionally, make sure the location allows easy access for maintenance and cleaning purposes.
Determining the BTU Requirements
The BTU (British Thermal Unit) requirements of your split AC unit are essential in determining the cooling capacity needed for your space. Factors such as the size of the room, insulation, and even the number of occupants will affect this calculation. It is crucial to choose a unit with the appropriate BTU rating to ensure efficient and effective cooling.
Checking Electrical Supply
Before proceeding with the installation, it is essential to check if your electrical supply can handle the power requirements of the split AC unit. Make sure you have an adequate power supply and consider consulting a professional electrician if necessary. Oversized or undersized electrical wiring can lead to safety hazards and may even damage the unit.
Gathering Tools and Materials
Before getting started, it is necessary to gather all the tools and materials required for installation. This typically includes a drill, screwdriver, spirit level, copper pipes, insulation tape, electrical wiring, and various mounting brackets. Having everything ready beforehand will make the installation process more efficient and ensure a smooth installation.
Mounting the Indoor Unit
Selecting an Appropriate Wall
Choosing the right wall for mounting the indoor unit plays a significant role in its performance and aesthetics. It should be a sturdy and well-supported wall that can handle the weight of the unit. Additionally, ensure that it is positioned in a way that provides optimal airflow throughout the room without obstruction.
Marking the Mounting Bracket
Once you have determined the appropriate wall, mark the location where the mounting bracket will be placed. Use a spirit level to ensure that the bracket is straight and aligns with the center of the wall. Double-check the measurements and make any adjustments before proceeding.
Drilling Holes
With the mounting bracket properly marked, use a drill to create holes in the wall at the designated spots. Ensure that the holes are of the appropriate size and depth to accommodate the wall plugs that will secure the bracket. Be cautious not to damage any electrical or plumbing lines within the wall.
Attaching the Bracket
After drilling the holes, insert the wall plugs and then attach the mounting bracket using the provided screws. Double-check the bracket’s stability and make any necessary adjustments to ensure it is securely fixed to the wall. A stable bracket is crucial for properly mounting the indoor unit.
Placing the Indoor Unit
Once the mounting bracket is securely in place, it’s time to install the indoor unit. Carefully position the unit onto the bracket and make sure it is level. The unit should fit snugly onto the bracket and align with any mounting slots or hooks. Once in position, secure the unit to the bracket according to the manufacturer’s instructions.
Installing the Outdoor Unit
Choosing an Outdoor Location
When selecting a location for the outdoor unit, consider factors such as noise level, accessibility, and proper ventilation. Choose a space that is away from windows and living areas to minimize noise disruption. Ensure the area is easily accessible for maintenance and repairs. Additionally, avoid placing the unit in direct sunlight to prevent overheating.
Preparing the Ground or Wall
Before installing the outdoor unit, it is essential to prepare the ground or wall surface. Clear any debris or obstacles that may hinder the installation process. If placing the unit on the ground, ensure the surface is level and stable. If mounting it on the wall, make sure the wall is clean and structurally sound.
Creating a Solid Base
For ground installations, it is crucial to create a solid base to support the outdoor unit. This can be achieved by using a concrete pad or a prefabricated base specifically designed for AC units. The base should be level and adequately sized to provide stability and prevent vibrations that can affect the unit’s performance.
Mounting the Outdoor Unit
Once the base is ready, carefully position the outdoor unit onto the support structure. Securely fasten the unit to the base or wall using the appropriate mounting brackets and screws. Ensure that the unit is level and securely fixed in place to prevent any future issues.
Connecting Refrigerant Lines
Measuring and Cutting Copper Pipes
To connect the indoor and outdoor units, copper pipes are used to carry the refrigerant. Measure the required length of copper pipe, accounting for any bends and connections. Use a pipe cutter to cut the copper pipe to the appropriate length, ensuring clean and accurate cuts.
Flaring and Insulating Copper Pipes
To ensure a leak-free connection, the ends of the copper pipes need to be flared. Use a flaring tool to create a cone-shaped opening at the ends of the pipes. This will allow for a secure and tight connection. After flaring, insulate the copper pipes using foam insulation tape to prevent condensation and ensure efficient cooling.
Connecting the Pipes
With the copper pipes prepared, connect one end to the indoor unit’s refrigerant ports and the other end to the corresponding ports on the outdoor unit. Be cautious when making connections to avoid damaging the pipes or compromising the refrigerant system. Secure the connections using appropriate fittings and ensure they are properly sealed.
Securing and Insulating
After connecting the refrigerant lines, secure them in place using pipe clamps or insulated tape. It is essential to support the pipes and prevent any strain that could cause leaks or damage. Additionally, ensure that all exposed sections of the refrigerant lines are adequately insulated to maintain optimal cooling efficiency.
Electrical Connections
Shutting Off Power
Before making any electrical connections, it is crucial to shut off the power. Locate the electrical circuit breaker associated with the AC unit and turn it off to ensure your safety during the installation process. Always double-check that the power is indeed off before proceeding.
Running Electrical Wiring
To connect the indoor and outdoor units, electrical wiring needs to be run between them. Depending on the specific requirements of your unit, this may involve routing cables through walls or ceilings. Follow the manufacturer’s instructions and any applicable electrical codes when running the wiring.
Making Electrical Connections
Once the wiring is in place, make the necessary electrical connections according to the manufacturer’s instructions. This typically involves connecting the corresponding wires from the indoor and outdoor units using wire nuts or terminal blocks. Pay close attention to the color-coding of the wires to ensure proper connections.
Testing the Connections
After making the electrical connections, it is crucial to test them to ensure they are secure and working correctly. Use a multimeter or voltage tester to check for continuity and verify that the connections are conducting electricity as intended. This step is essential for the safe and efficient operation of your split AC unit.
Drainage and Condensate System
Designing a Drainage System
Split AC units produce condensate as a byproduct of the cooling process. Designing an effective drainage system is essential to prevent water damage and maintain the unit’s performance. Determine the appropriate drainage route and ensure there is a proper slope to facilitate the flow of condensate.
Installing Drainage Pipes
Once the drainage system is designed, install the necessary drainage pipes. Connect the pipes to the indoor unit’s condensate outlet and run them to a suitable drainage point. Use appropriate fittings and supports to ensure proper alignment and prevent any leaks or blockages.
Attaching the Condensate Pump
In situations where gravity drainage is not feasible, a condensate pump may be necessary. Attach the condensate pump to the drainage system and ensure it is positioned correctly to pump the condensate away from the unit. Follow the manufacturer’s instructions for proper installation and ensure the pump is securely mounted.
Testing the Condensate System
After installing the drainage system and condensate pump, test the system to ensure proper functioning. Pour water into the indoor unit’s condensate tray to simulate condensate production. Observe the flow of water through the drainage pipes and ensure that it is effectively draining away from the unit without any leaks or backups.
Installing Air Filters and Grilles
Choosing and Installing Air Filters
Air filters play a crucial role in maintaining indoor air quality and the efficiency of your split AC unit. Choose high-quality filters that are compatible with your unit and have the appropriate MERV (Minimum Efficiency Reporting Value) rating. Following the manufacturer’s instructions, install the filters in the designated location of the indoor unit.
Mounting the Return Air Grille
The return air grille allows air to be drawn into the indoor unit for cooling. Determine the optimal location for the grille, typically in a central area that allows for even air circulation. Install the grille securely on the wall or ceiling according to the manufacturer’s instructions.
Securing the Supply Air Grille
The supply air grille is responsible for distributing conditioned air back into the room. Install the supply air grille in a location that provides even airflow throughout the space. Ensure the grille is securely mounted and aligned correctly to avoid any obstructions or uneven airflow.
Testing the Airflow
Once the air filters and grilles are installed, it is important to test the airflow to ensure it is circulating properly. Turn on the unit and observe if the air is evenly distributed throughout the room. Check for any unusual noises or restricted airflow, as these may indicate issues with the filters or grilles that need to be addressed.
Connecting the Thermostat
Choosing the Right Thermostat
Selecting the appropriate thermostat for your split AC unit is crucial for optimal control and comfort. Consider factors such as programmable features, zoning capabilities, and compatibility with your unit. Choose a thermostat that suits your needs and ensures convenient temperature control.
Mounting the Thermostat
Determine the ideal location for mounting the thermostat. It should be easily accessible and centrally located for accurate temperature readings. Make sure to follow the manufacturer’s instructions for proper mounting, including any specific wiring or installation requirements.
Wiring the Thermostat
After mounting the thermostat, carefully wire it according to the manufacturer’s instructions. This typically involves connecting the corresponding wires from the indoor unit to the thermostat terminals. Pay close attention to the color-coding of the wires to ensure correct connections.
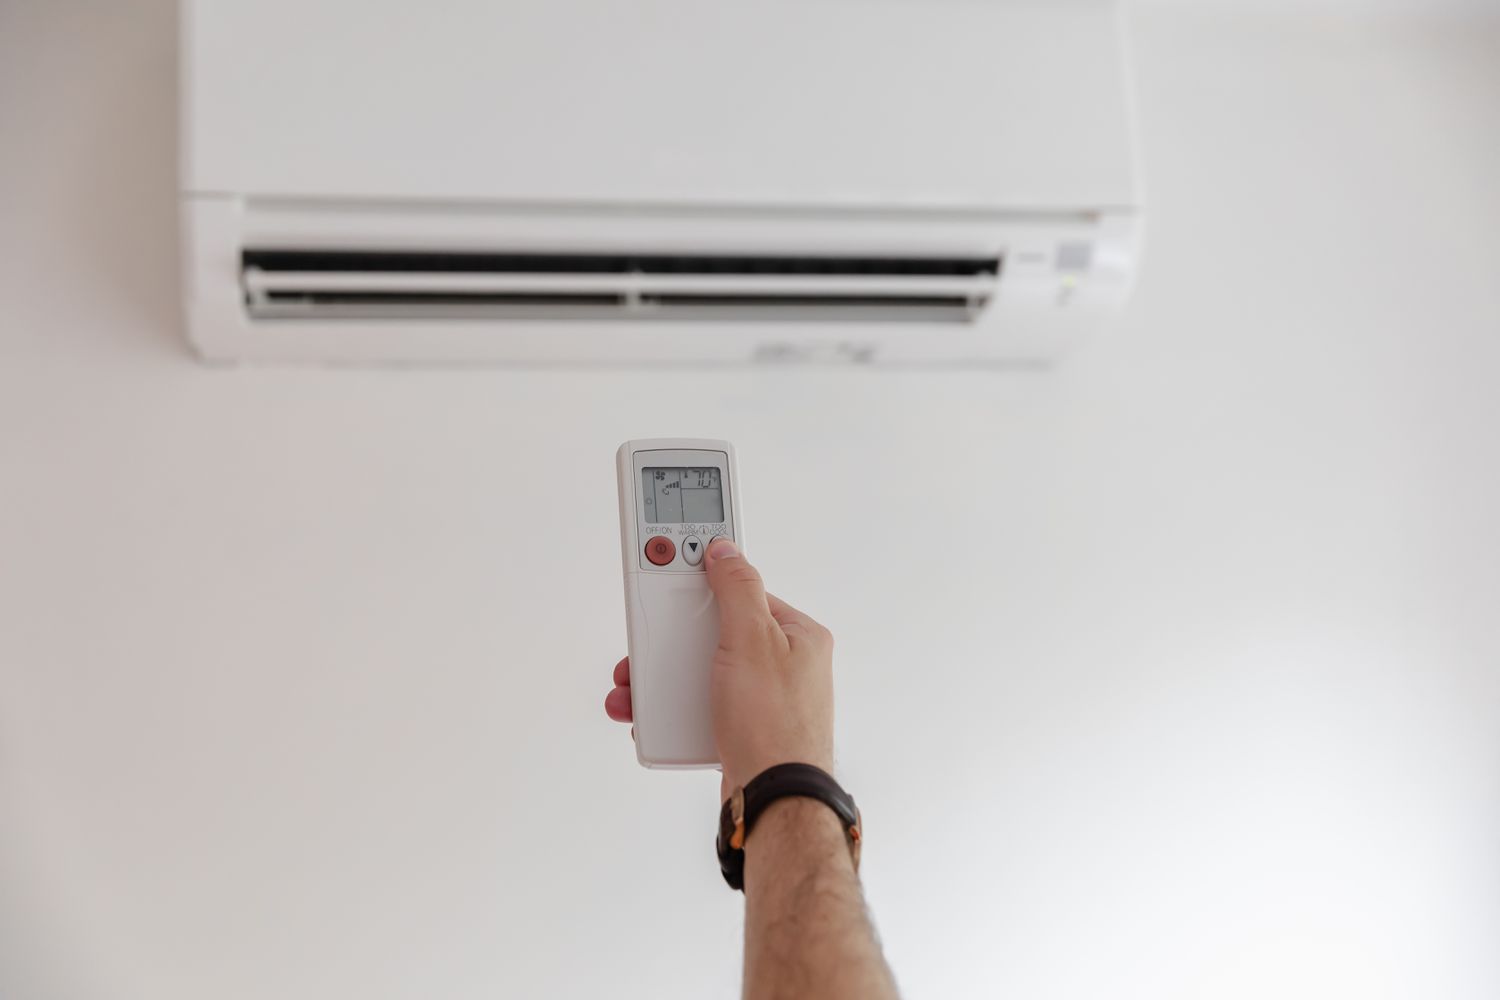
Configuring and Testing
Once the thermostat is wired, configure the settings according to your preferences and the manufacturer’s instructions. Test the thermostat to ensure it accurately controls the split AC unit. Verify that it responds to temperature adjustments and properly cycles the unit on and off.
Testing and Commissioning
Powering On the System
With all the components in place, it’s time to power on the system. Turn on the electrical supply and ensure that the split AC unit starts up. Observe the initial operation for any unusual noises, vibrations, or error codes. Allow the unit to run for a short period to ensure it is functioning correctly.
Checking for Proper Function
Test the system to confirm that it is performing as expected. Measure the temperature and airflow to ensure the split AC unit is cooling the space adequately. Check for any air leaks, abnormal sounds, or fluctuations in performance that may require adjustment or further investigation.
Adjusting Refrigerant Charge
If adjustments to the refrigerant charge are necessary, consult a professional technician or HVAC specialist. They can measure and adjust the refrigerant levels to ensure optimal cooling efficiency and prevent any long-term damage to the unit. Proper refrigerant charge is essential for the reliable operation of a split AC unit.
Calibrating Thermostat
Calibrate the thermostat to ensure accurate temperature readings and optimal control of the split AC unit. Follow the manufacturer’s instructions for calibration and make any necessary adjustments to fine-tune the temperature settings. This will help achieve optimal comfort levels and energy efficiency.
Final Checks and Safety
Inspecting Installation
Take a final inspection of the entire installation to ensure everything is in order. Verify that all connections are secure, wires are properly routed, and components are correctly installed. A thorough inspection minimizes the risk of future issues and ensures the longevity of your split AC unit.
Ensuring Proper Insulation
Check that all exposed sections of the refrigerant lines, electrical wiring, and drainage pipes are adequately insulated. Proper insulation prevents energy loss, maintains optimal cooling efficiency, and prevents potential safety hazards. Add insulation where necessary and ensure that existing insulation is in good condition.
Verifying Safety Measures
Double-check the installation for any potential safety concerns. Ensure that all electrical connections are secure, wires are properly grounded, and circuit breakers are appropriately sized. Additionally, check for any obstructions that may hinder proper airflow or pose a safety risk.
Cleaning the Work Area
Once the installation is complete, clean up the work area to remove any debris, packaging materials, and tools. Dispose of waste materials properly and return any unused materials to their designated place. A clean work area promotes safety and enhances the overall professionalism of the installation.
In conclusion, installing a split AC unit involves careful planning, preparation, and step-by-step execution. By choosing the right location, determining the proper BTU requirements, and ensuring a stable electrical supply, you lay the foundation for a successful installation. Mounting the indoor and outdoor units, connecting the refrigerant lines, making electrical connections, and installing the drainage and condensate system are critical steps to ensure efficient and reliable cooling. Installing air filters and grilles, connecting the thermostat, and completing thorough testing and commissioning ensure optimal performance and comfort. The final checks for proper installation, safety measures, insulation, and cleanliness provide the finishing touches to a successful split AC unit installation.


