Keeping your AC unit in tip-top shape is crucial for its performance and longevity, and one essential maintenance task you must not overlook is cleaning the coils. Over time, dust, dirt, and debris can accumulate on the coils, hindering their ability to effectively transfer heat. In this article, you will learn the simple yet effective steps to clean your AC unit’s coils, ensuring that it runs smoothly and efficiently, and keeps you cool during those scorching summer months. Whether you’re a seasoned DIY enthusiast or a novice in home maintenance, this guide will walk you through the process in a friendly, easy-to-follow manner, so you can enjoy a cool and comfortable living environment.
Determining the Need for Coil Cleaning
When it comes to maintaining your AC unit, one important aspect to consider is the cleanliness of the coils. Over time, the coils in both the outdoor and indoor units can become clogged with dust, dirt, and debris, which can impair their ability to function efficiently. Therefore, it is crucial to determine the need for coil cleaning before moving forward with the process.
Inspecting the AC Unit
The first step in determining the need for coil cleaning is to thoroughly inspect your AC unit. Take a close look at both the outdoor and indoor units to assess their condition. Look out for any visible signs of dirt or debris buildup on the coils.
Assessing the Airflow
Another crucial aspect to consider is the airflow coming from your AC unit. If you notice a decrease in the airflow or if the airflow feels weak, it could indicate that the coils are clogged. Restricted airflow is a common sign that coil cleaning is necessary.
Checking for Dust and Debris
Lastly, take a closer look at the coils themselves. If you notice an accumulation of dust, dirt, or other debris on either the outdoor or indoor coils, it is a clear indication that they need to be cleaned. Dust and debris can obstruct the air passage through the coils and hinder the cooling efficiency of your AC unit.
Preparing for Coil Cleaning
Before diving into the coil cleaning process, it is important to gather the necessary tools and take certain precautions to ensure a safe and effective cleaning session.
Gathering the Necessary Tools
To clean the AC unit coils, you will need a few essential tools. These tools include a soft brush, a coil cleaner solution (preferably one recommended by the manufacturer), a wet/dry vacuum, a water hose with a spray nozzle, a bucket, and protective gear such as gloves and goggles. Make sure to have all these tools readily available before starting the cleaning process.
Turning Off the AC Unit
Before you begin cleaning the coils, it is essential to turn off the AC unit completely. Locate the power switch or circuit breaker that controls the unit and switch it off to ensure your safety and to prevent any damage to the unit during the cleaning process.

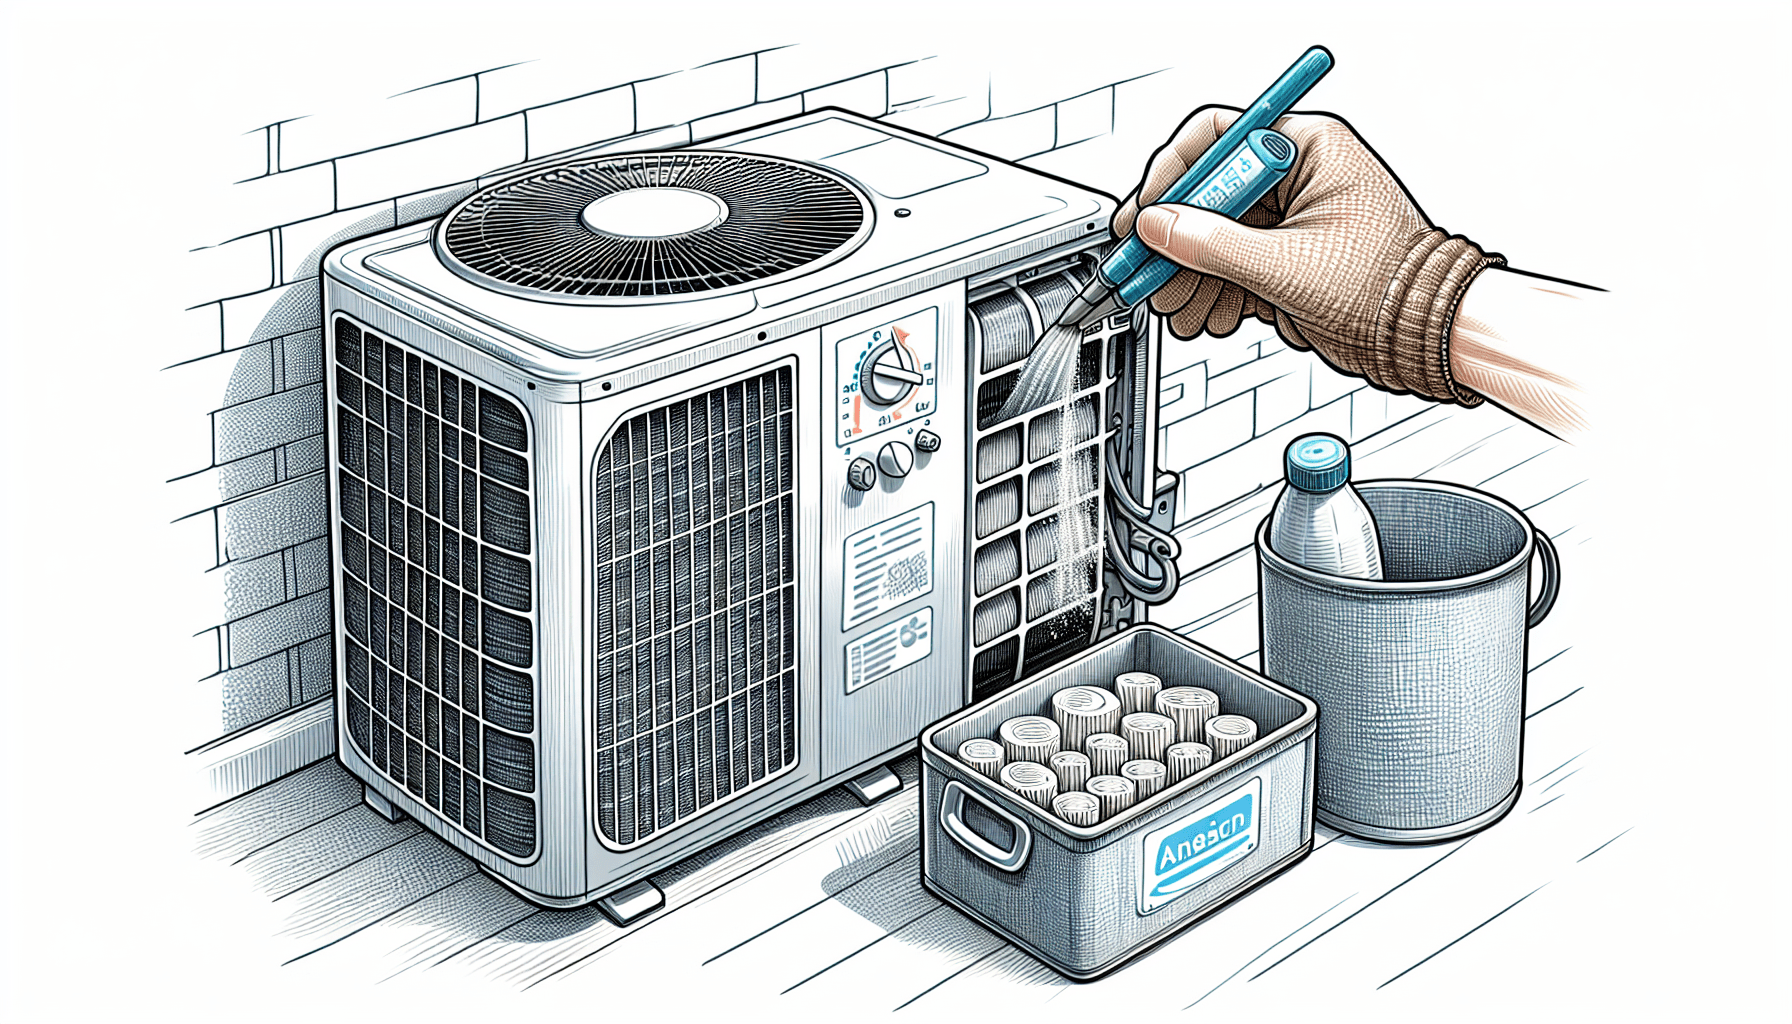
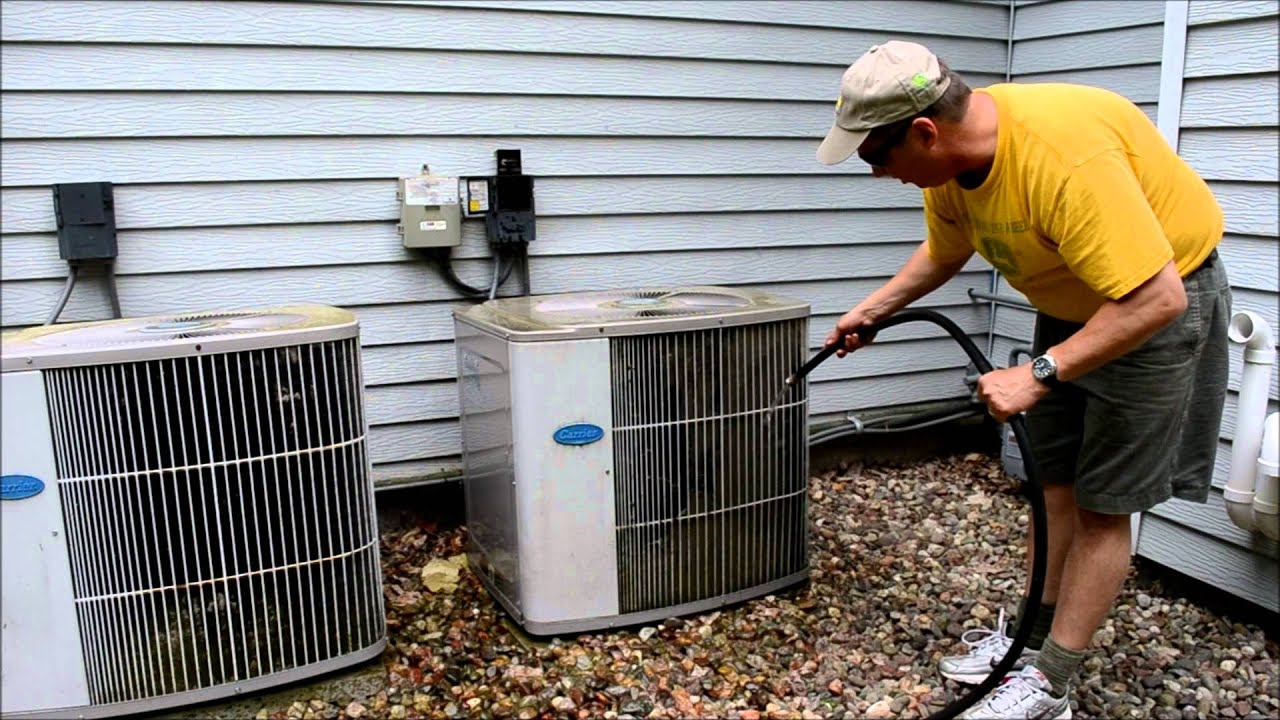
Cleaning the Outdoor Coils
The outdoor coils of your AC unit are constantly exposed to the elements, making them more susceptible to dirt and debris buildup. Cleaning these coils is vital to ensure optimal performance and prevent any potential damage.
Removing Debris
Start by removing any loose debris from the outdoor coils. Use a soft brush or a gentle stream of water to dislodge and remove leaves, grass clippings, or dirt that may have accumulated on the surface of the coils.
Spraying with Water
After removing the loose debris, use a spray nozzle attached to a water hose to spray water onto the outdoor coils. Position the nozzle at a 45-degree angle to prevent bending or damaging the fins. The water pressure will help dislodge any remaining dirt or debris from the coils.
Using Coil Cleaner Solution
In some cases, water alone may not be sufficient to remove stubborn dirt and grime from the coils. In such instances, it is recommended to use a coil cleaner solution specifically designed for AC units. Follow the manufacturer’s instructions on how to use the coil cleaner properly. Apply the solution to the coils and allow it to sit for the recommended duration to break down any stubborn residue.
Rinsing and Drying the Coils
After applying the coil cleaner, rinse the outdoor coils thoroughly with water to remove any remaining cleaner residue. Ensure that all traces of the cleaner are completely removed from the coils to prevent any potential damage. Once rinsed, allow the coils to air dry completely before reassembling the unit and turning it back on.
Cleaning the Indoor Coils
While the outdoor coils are more exposed to the elements, the indoor coils can still accumulate dust and debris over time. Cleaning these coils is equally important to maintain efficient cooling performance.
Accessing the Indoor Units
To access the indoor coils, you may need to remove the front panel or access panel of your AC unit. Refer to your unit’s manual or manufacturer’s instructions to locate and safely remove these panels without causing any damage.
Removing Dust and Debris
Once you have accessed the indoor coils, use a soft brush or a vacuum cleaner with a brush attachment to remove any dust or debris. Carefully brush or vacuum the coils, ensuring not to apply too much pressure to avoid bending the fins.
Using a Foaming Coil Cleaner
Similar to the outdoor coils, using a foaming coil cleaner designed for indoor units can help remove stubborn dirt and grime from the coils. Follow the manufacturer’s instructions on how to properly apply the foaming coil cleaner to the indoor coils. Allow the cleaner to sit for the recommended duration to effectively break down any residue.
Rinsing and Drying the Coils
After applying the foaming coil cleaner, rinse the indoor coils thoroughly with water to remove any remaining cleaner residue. Ensure that all traces of the cleaner are completely removed from the coils. Once rinsed, allow the coils to air dry completely before reassembling the unit.

Cleaning the Condensate Drain Line
In addition to cleaning the coils, it is essential to address the condensate drain line to prevent any potential blockages or leaks.
Locating the Drain Line
The condensate drain line is responsible for removing excess moisture from your AC unit. Locate the drain line, which is typically a small PVC pipe located near the indoor unit or in the basement. Follow the pipe to find the access point where you can clear any clogs.
Clearing Clogs with a Wet/Dry Vacuum
If you suspect a clog in the condensate drain line, use a wet/dry vacuum to suction out any debris or obstructions from the access point. Ensure that the vacuum is set to wet mode to effectively clear the clog. Be cautious and gentle to avoid causing any damage to the drain line.
Flushing with a Mixture of Water and Bleach
After clearing any clogs, it is recommended to flush the condensate drain line with a mixture of water and bleach. The bleach helps kill any mold or bacteria that may have formed inside the drain line. Mix one part bleach with ten parts water and pour this solution down the drain line. Allow the solution to sit for a few minutes before rinsing it out with water.
Reassembling and Testing the AC Unit
Once you have completed the coil cleaning and condensate drain line maintenance, it is time to reassemble the AC unit and ensure that it is functioning correctly.
Putting the Unit Back Together
Refer to your unit’s manual or manufacturer’s instructions to safely reattach any panels that were removed to access the coils and drain line. Ensure that all connections are secure and properly tightened before proceeding.
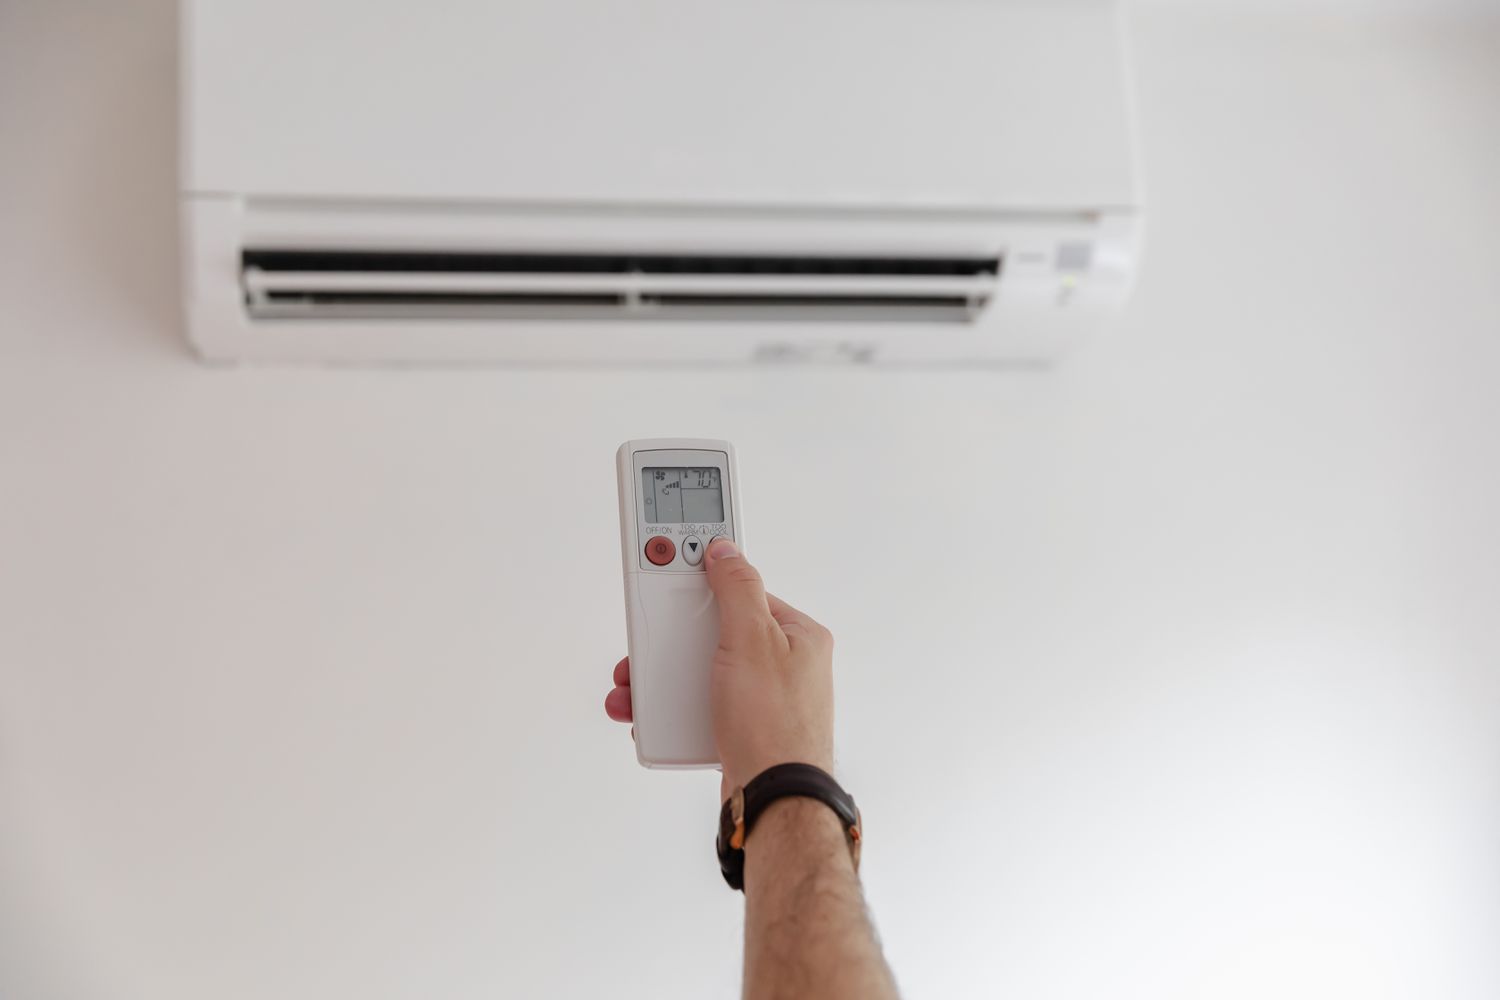
Turning On the AC Unit
After reassembling the unit, it is safe to turn on the AC unit. Switch on the power and set the thermostat to your desired cooling temperature. Wait for a few minutes to ensure that the unit starts up properly and that both the indoor and outdoor coils are functioning efficiently.
Checking for Proper Functioning
To verify the effectiveness of the coil cleaning process, pay attention to the airflow and cooling performance of your AC unit. If you notice improved airflow and efficient cooling, it is a sign that the coil cleaning was successful. If you still experience any issues, it may be necessary to seek professional help or perform further maintenance.

Regular Maintenance Tips
To ensure the longevity and optimal functioning of your AC unit, there are a few regular maintenance tips you should follow.
Changing Air Filters Regularly
One of the easiest and most effective ways to maintain your AC unit is by regularly changing or cleaning the air filters. Clogged or dirty filters can restrict airflow, strain the unit, and impact its overall performance. Follow the manufacturer’s recommendations on how often to change or clean the filters.
Clearing Debris around the Outdoor Unit
Regularly check and clear any debris, leaves, or vegetation around the outdoor unit. These obstructions can affect the airflow and strain the unit, reducing efficiency and potentially causing damage. Keep the area surrounding the unit clean and free from any blockages.
Scheduling Professional Maintenance
While regular maintenance tasks can be performed by homeowners, it is still crucial to schedule professional maintenance at least once a year. Professional technicians have the expertise and tools to thoroughly inspect, clean, and tune up your AC unit, ensuring its optimal performance and longevity.
Ensuring Safety Precautions
During the coil cleaning process, it is important to prioritize your safety by following certain precautions.
Disconnecting Power
Before starting any cleaning or maintenance tasks, always turn off the power to your AC unit. Locate the power switch or circuit breaker that controls the unit and ensure it is switched off to avoid any electrical hazards.
Wearing Protective Gear
When handling cleaning products or working in close proximity to the coils, it is crucial to wear protective gear, such as gloves and goggles. This will protect your hands and eyes from any potential chemicals or debris.
Avoiding Strong Chemicals
While coil cleaner solutions can effectively clean the coils, it is vital to use the recommended products and avoid using any strong or abrasive chemicals that could cause damage to the coils or other components of the AC unit. Always read the labels and follow the manufacturer’s instructions for safe and effective use.

Seeking Professional Help
While many coil cleaning tasks can be performed by homeowners, there are certain situations where seeking professional help is necessary.
When in Doubt
If you are unsure about any aspect of the coil cleaning process or if you encounter any difficulties, it is best to seek professional help. HVAC technicians have the knowledge and experience to handle any issues that may arise during the cleaning process.
Complex Issues
If you notice any complex issues with your AC unit, such as strange noises, malfunctioning thermostat, or refrigerant leaks, it is recommended to contact a professional technician. Complex issues require specialized knowledge and equipment to diagnose and repair effectively.
Routine Servicing
Even if you are confident in your ability to clean the AC unit coils, routine servicing by a professional technician is crucial. Regular maintenance and inspections help identify any potential problems early on and ensure the optimal functioning of your AC unit.
Signs of AC Coil Issues
To prevent major AC unit problems, it is important to be aware of the signs that indicate potential coil issues.
Decreased Cooling Efficiency
If you notice a decline in the cooling efficiency of your AC unit, it could be a sign of dirty or clogged coils. Restricted airflow caused by dirty coils can lead to reduced cooling performance and higher energy consumption.
Frequent System Breakdowns
If your AC unit frequently breaks down or experiences mechanical issues, it may be due to dirty or damaged coils. Dirty coils can strain the system, leading to increased wear on components and higher chances of system failures.
Water Leakage
Water leakage around the indoor unit can be an indication of coil issues. Clogs or blockages in the condensate drain line caused by dirty coils can cause water to back up and leak from the unit. Ignoring this issue can lead to potential water damage and further damage to the coils.
In conclusion, cleaning the coils on your AC unit is a crucial aspect of regular maintenance. By following the outlined steps and taking the necessary precautions, you can effectively clean the outdoor and indoor coils, maintain optimal cooling performance, and ensure the longevity of your AC unit. Remember to prioritize safety, seek professional help when needed, and stay proactive in maintaining your AC unit to avoid potential issues.